FINISHER WITH LID

Product for replacement

1. Exposing the shaft
- The first step before laying the top layer is to uncover the shaft
- The area around the shaft will be demolished, just as with the manhole cover replacement

2. Calculation of the composition
- Always better to have fewer balancing rings
- Count 10-20 mm of high-strength material on each joint

3. Fitting of rings
- Moisten the concrete rings
- The connecting surface must be supported in its entirety

4. Topping compound
- Always with high-strength and resistance to chemical defrosting agents
- If using formwork, the rings can also be connected with grout
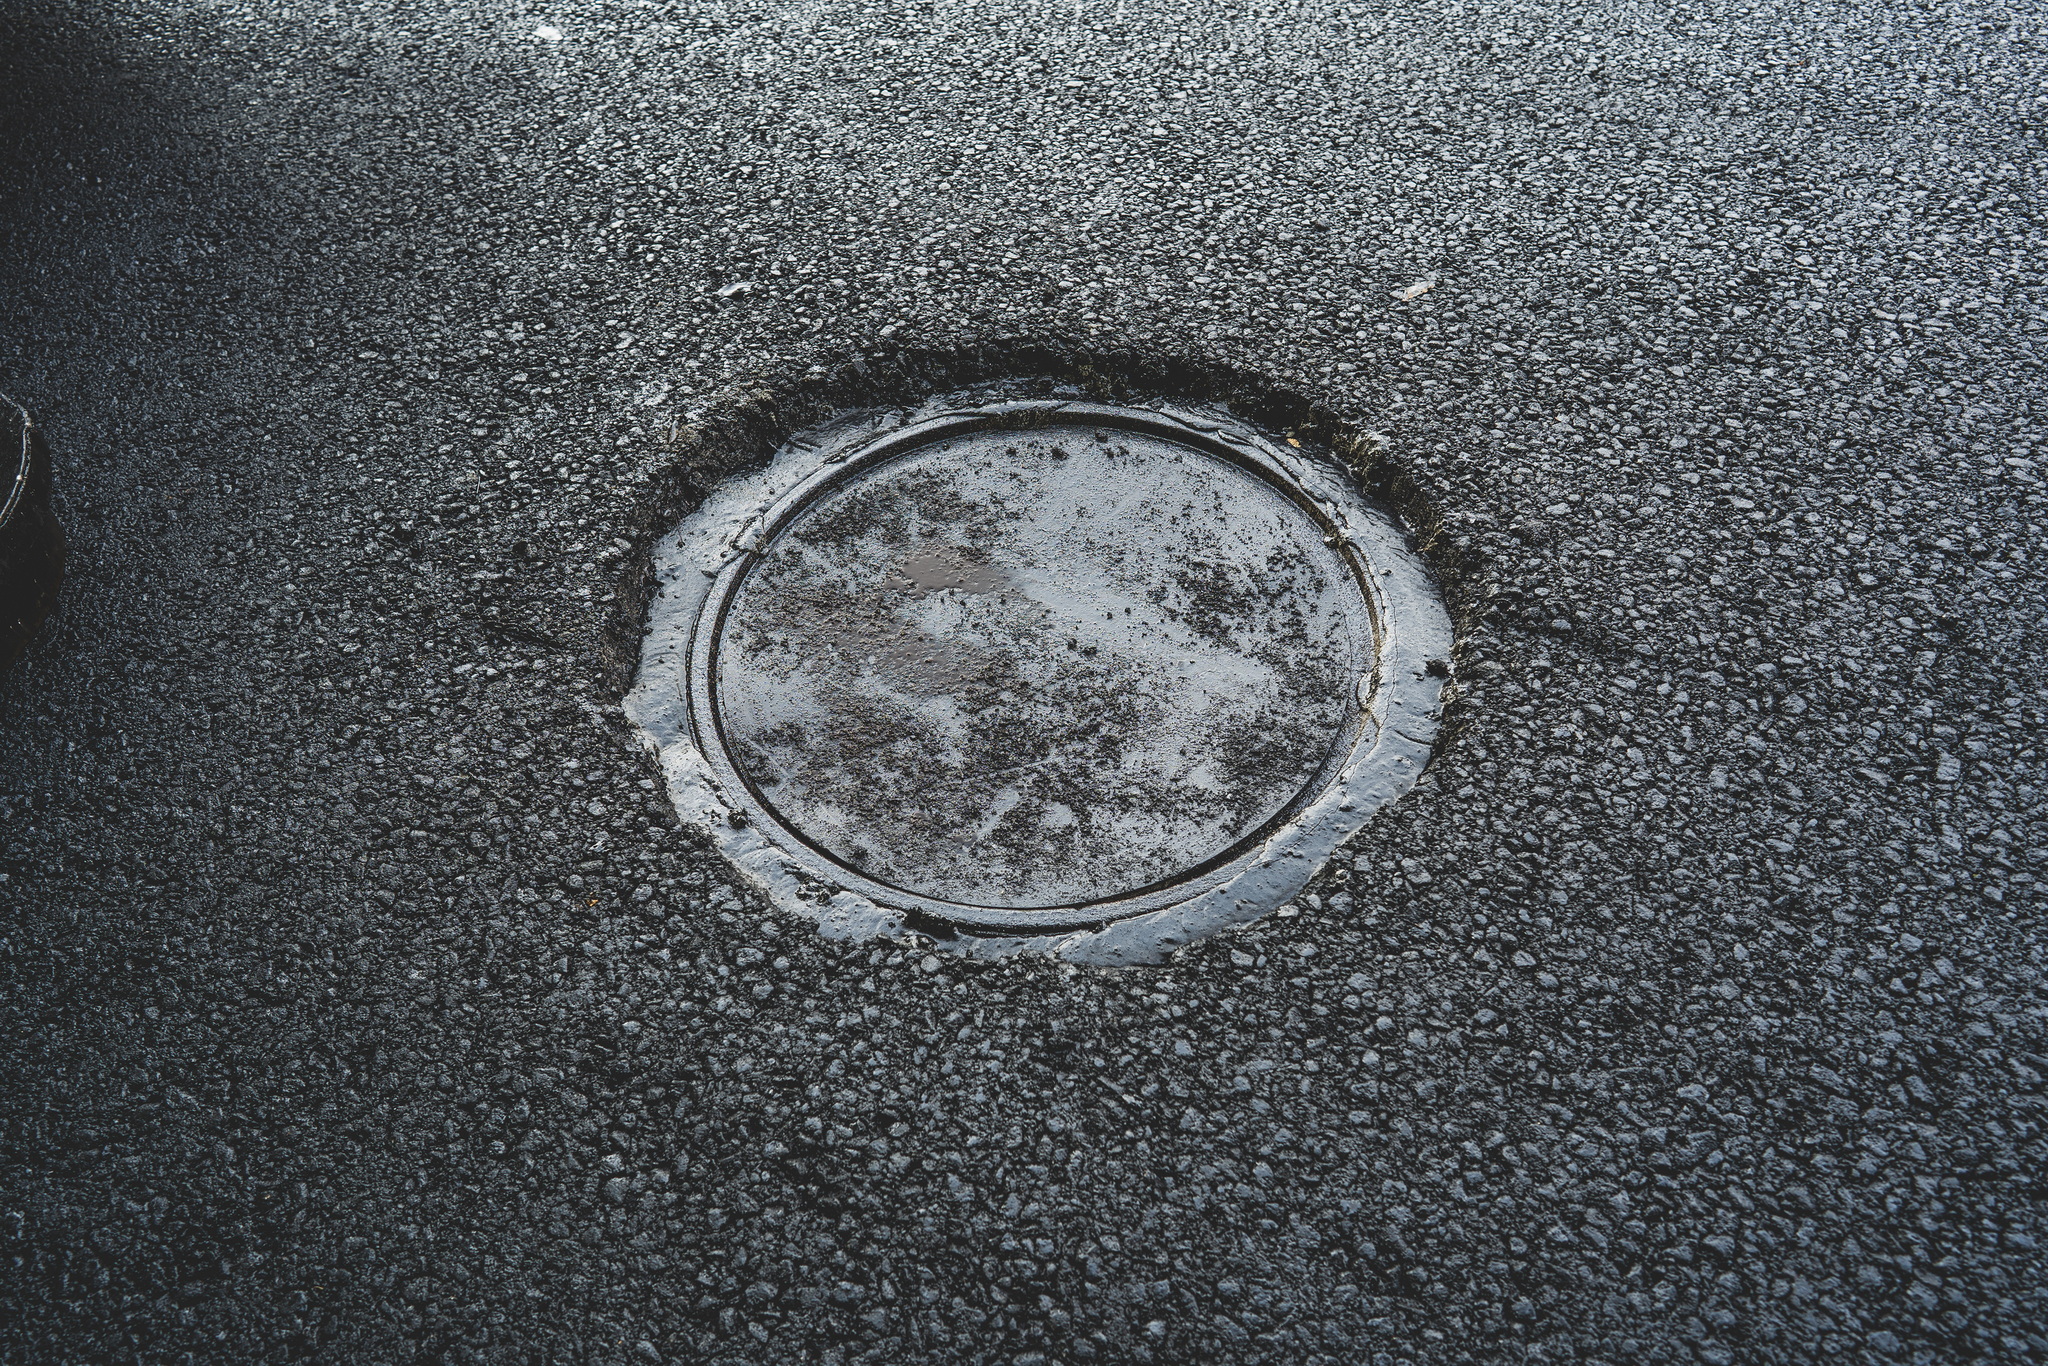
5. Impregnation
- Complete the entire area under the asphalt
- It’s faster to use a spray bottle
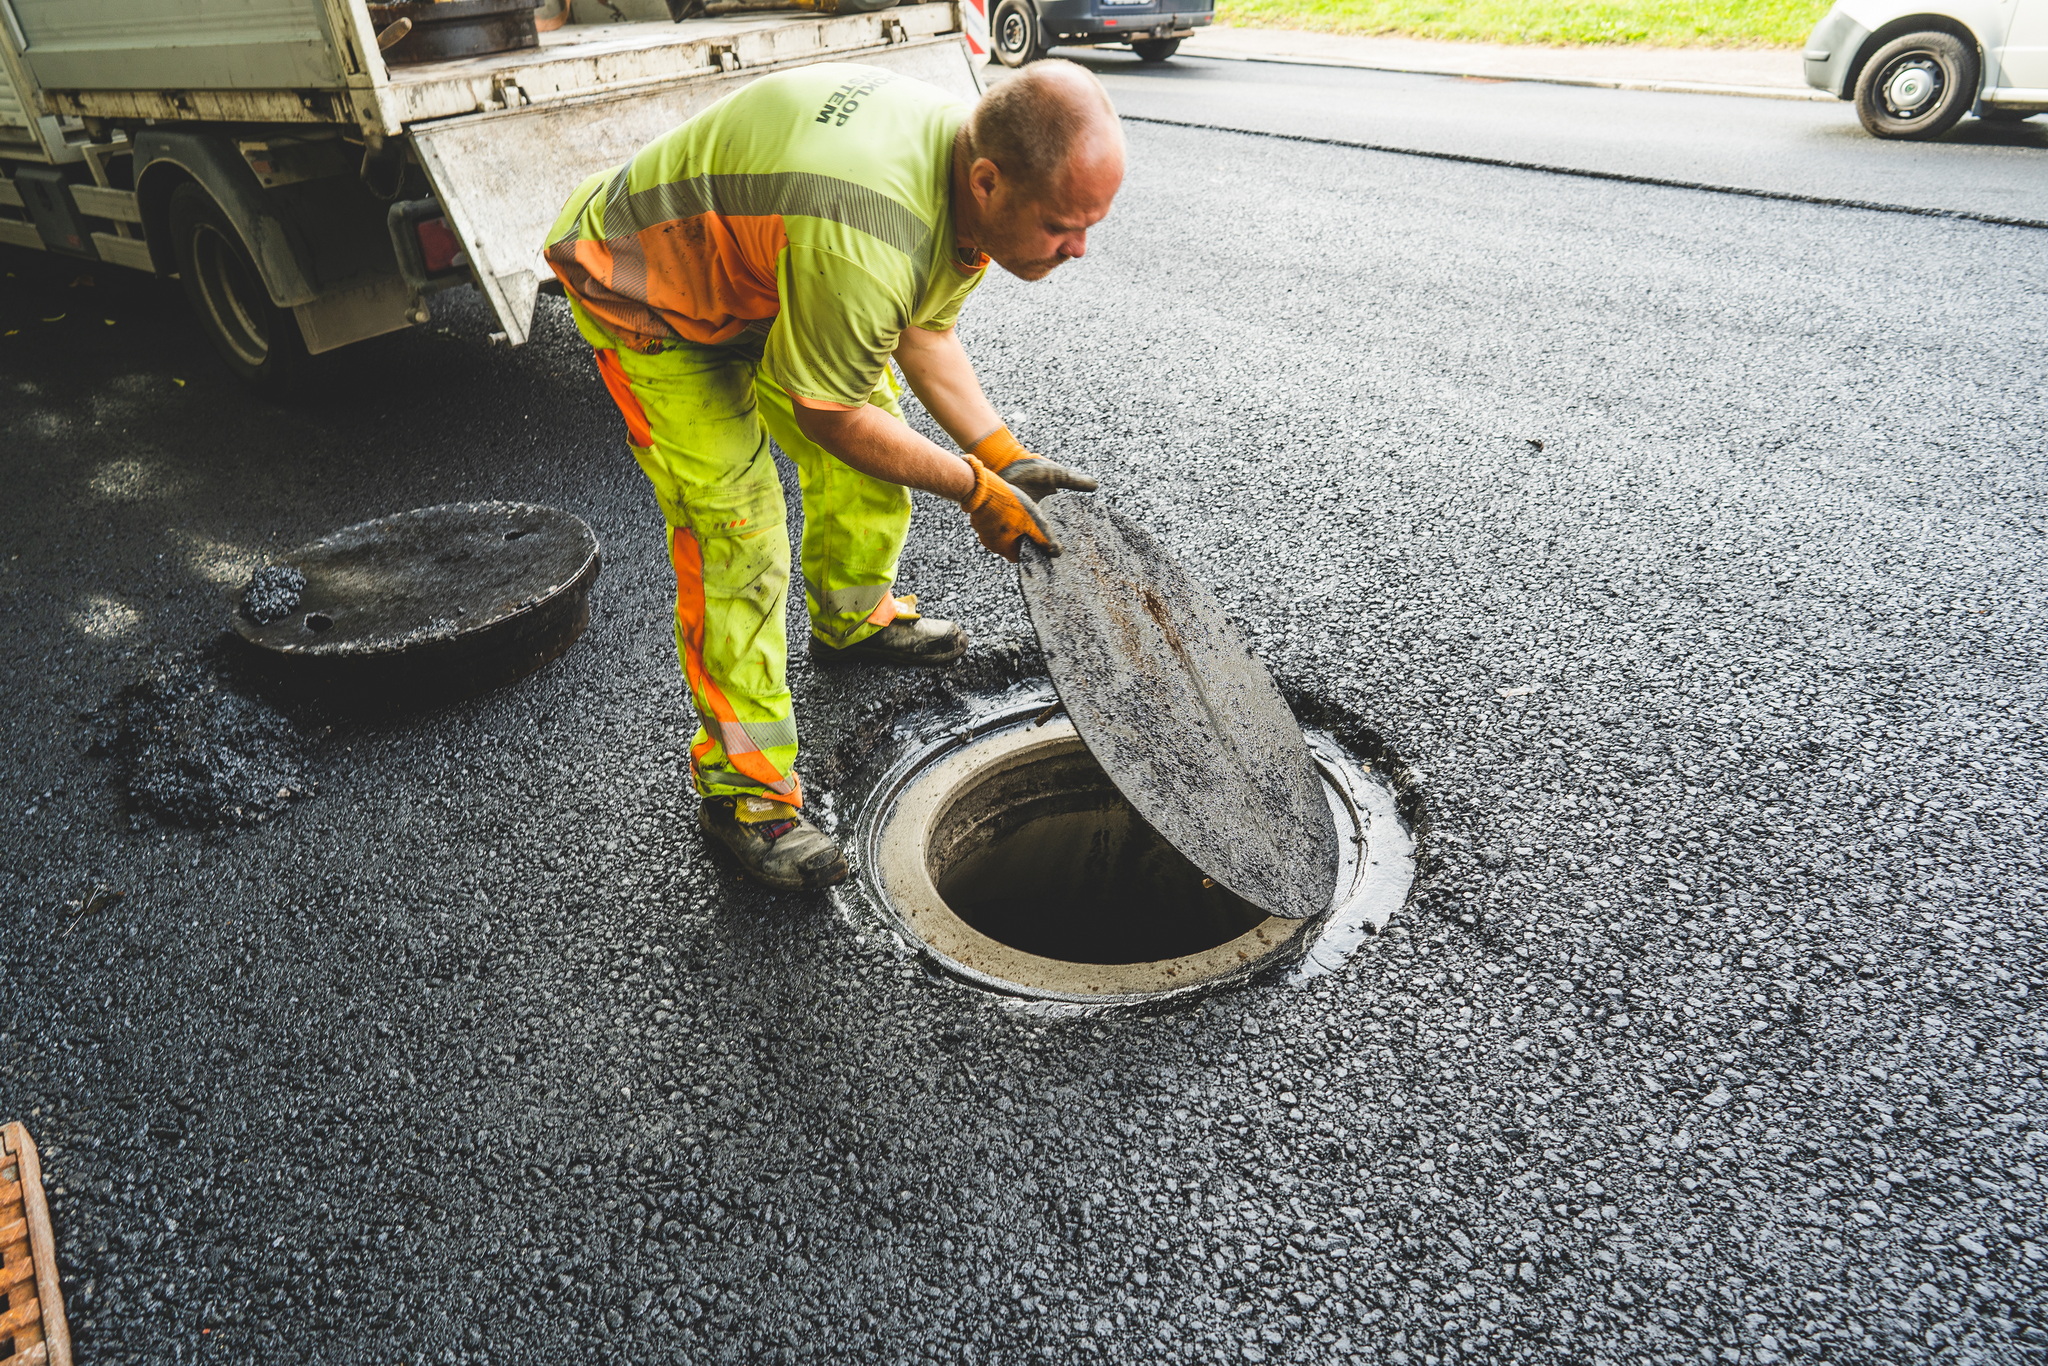
6. Removal of makeshift parts
- The temporary hatch is cleaned and prepared for further use
- Checking the opening cleanliness
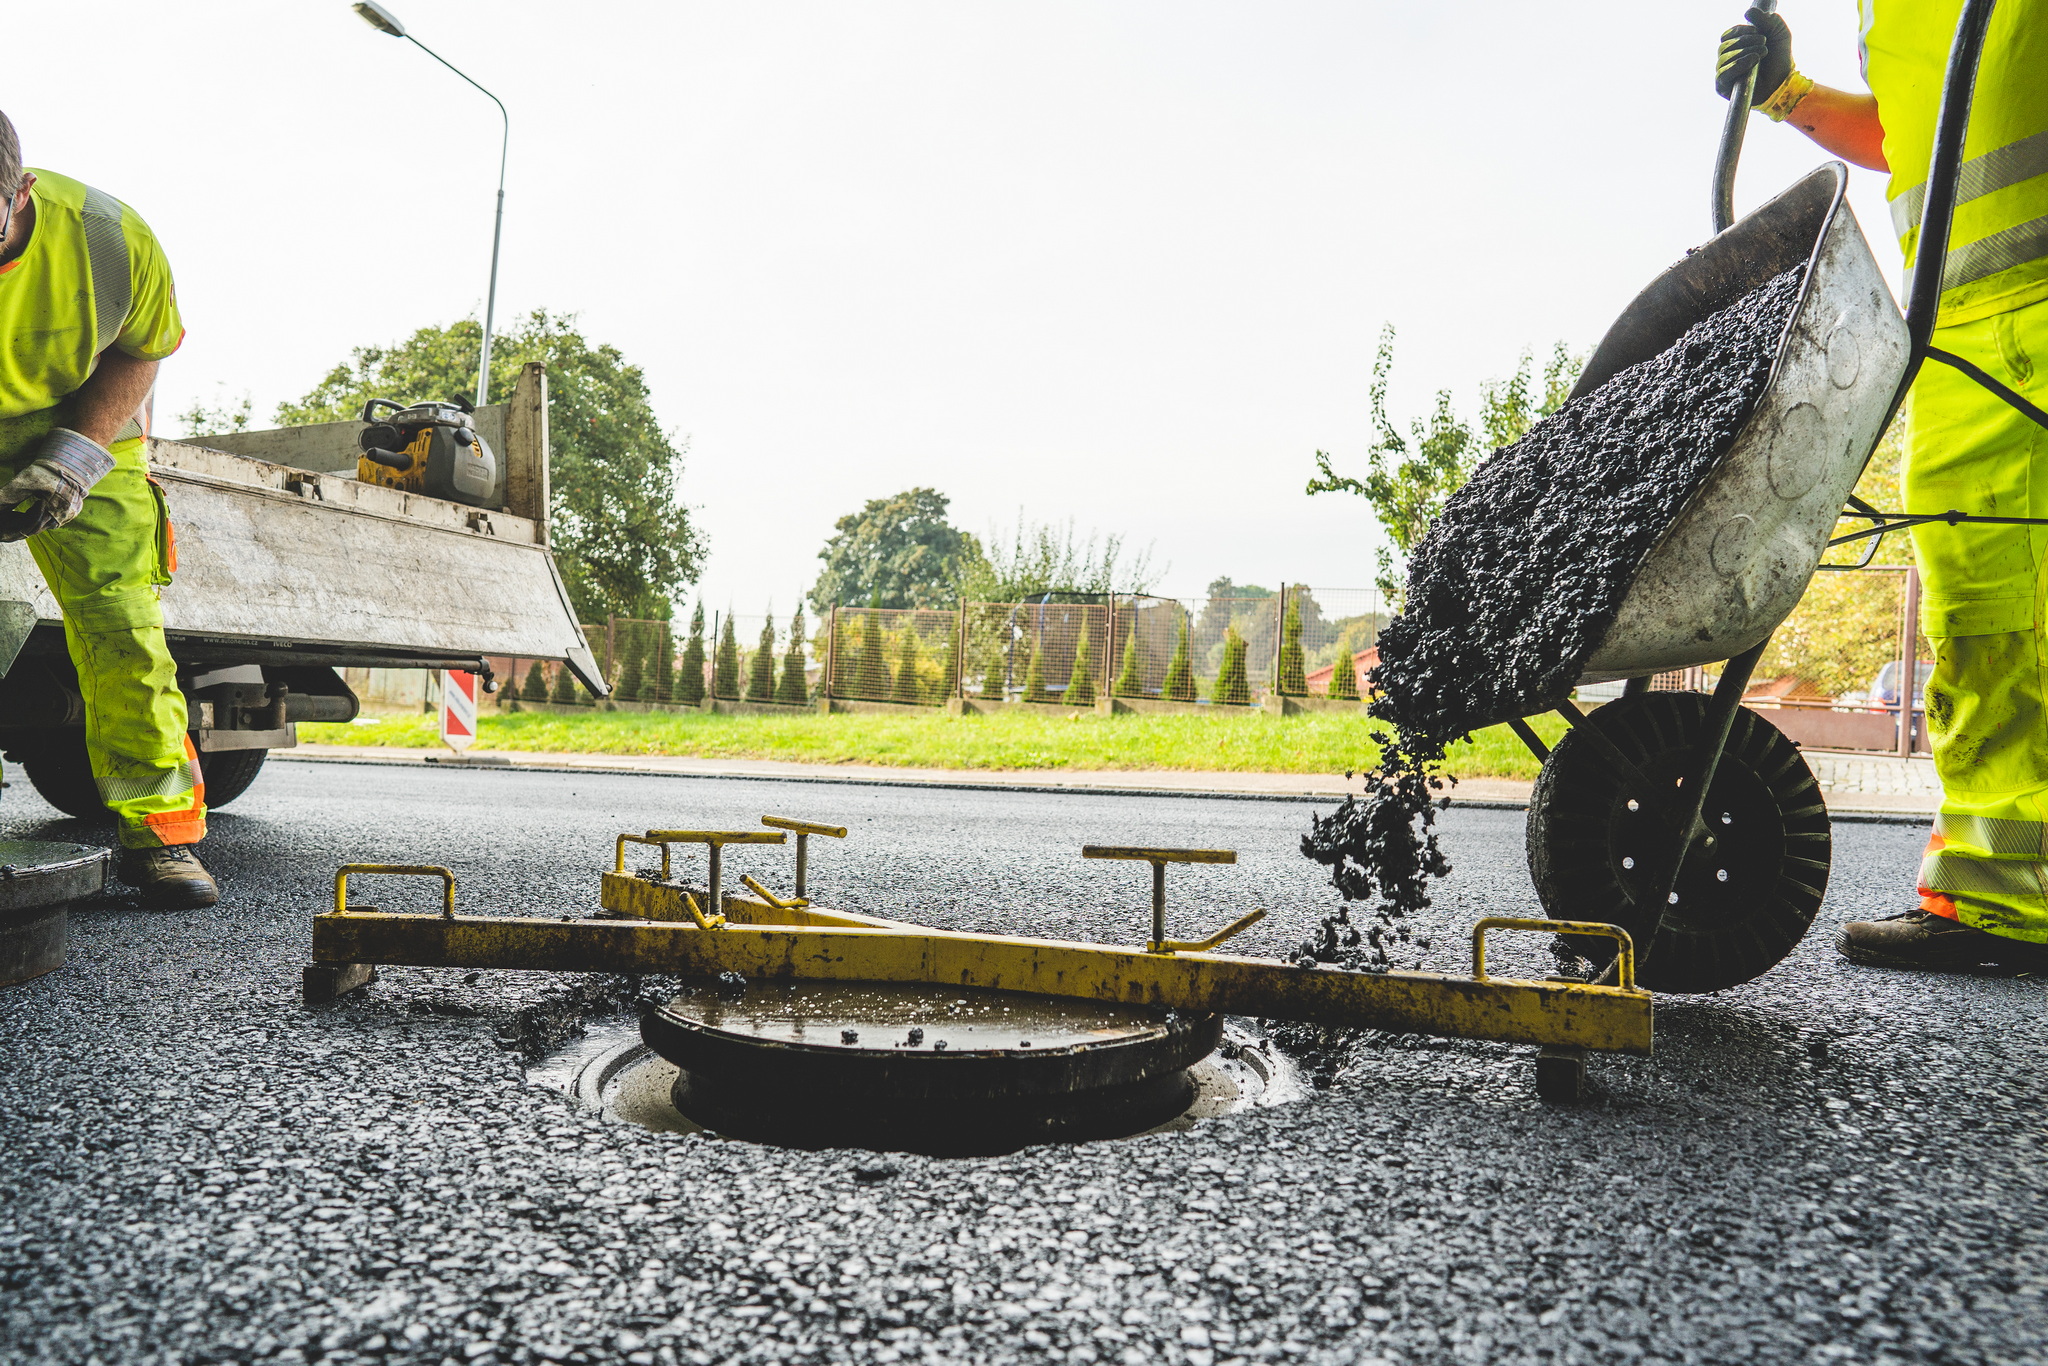
7. Installation of formwork
- The formwork attaches to the carrier
- The formwork on the carrier is placed in the prepared hole to ensure the correct height and directionality
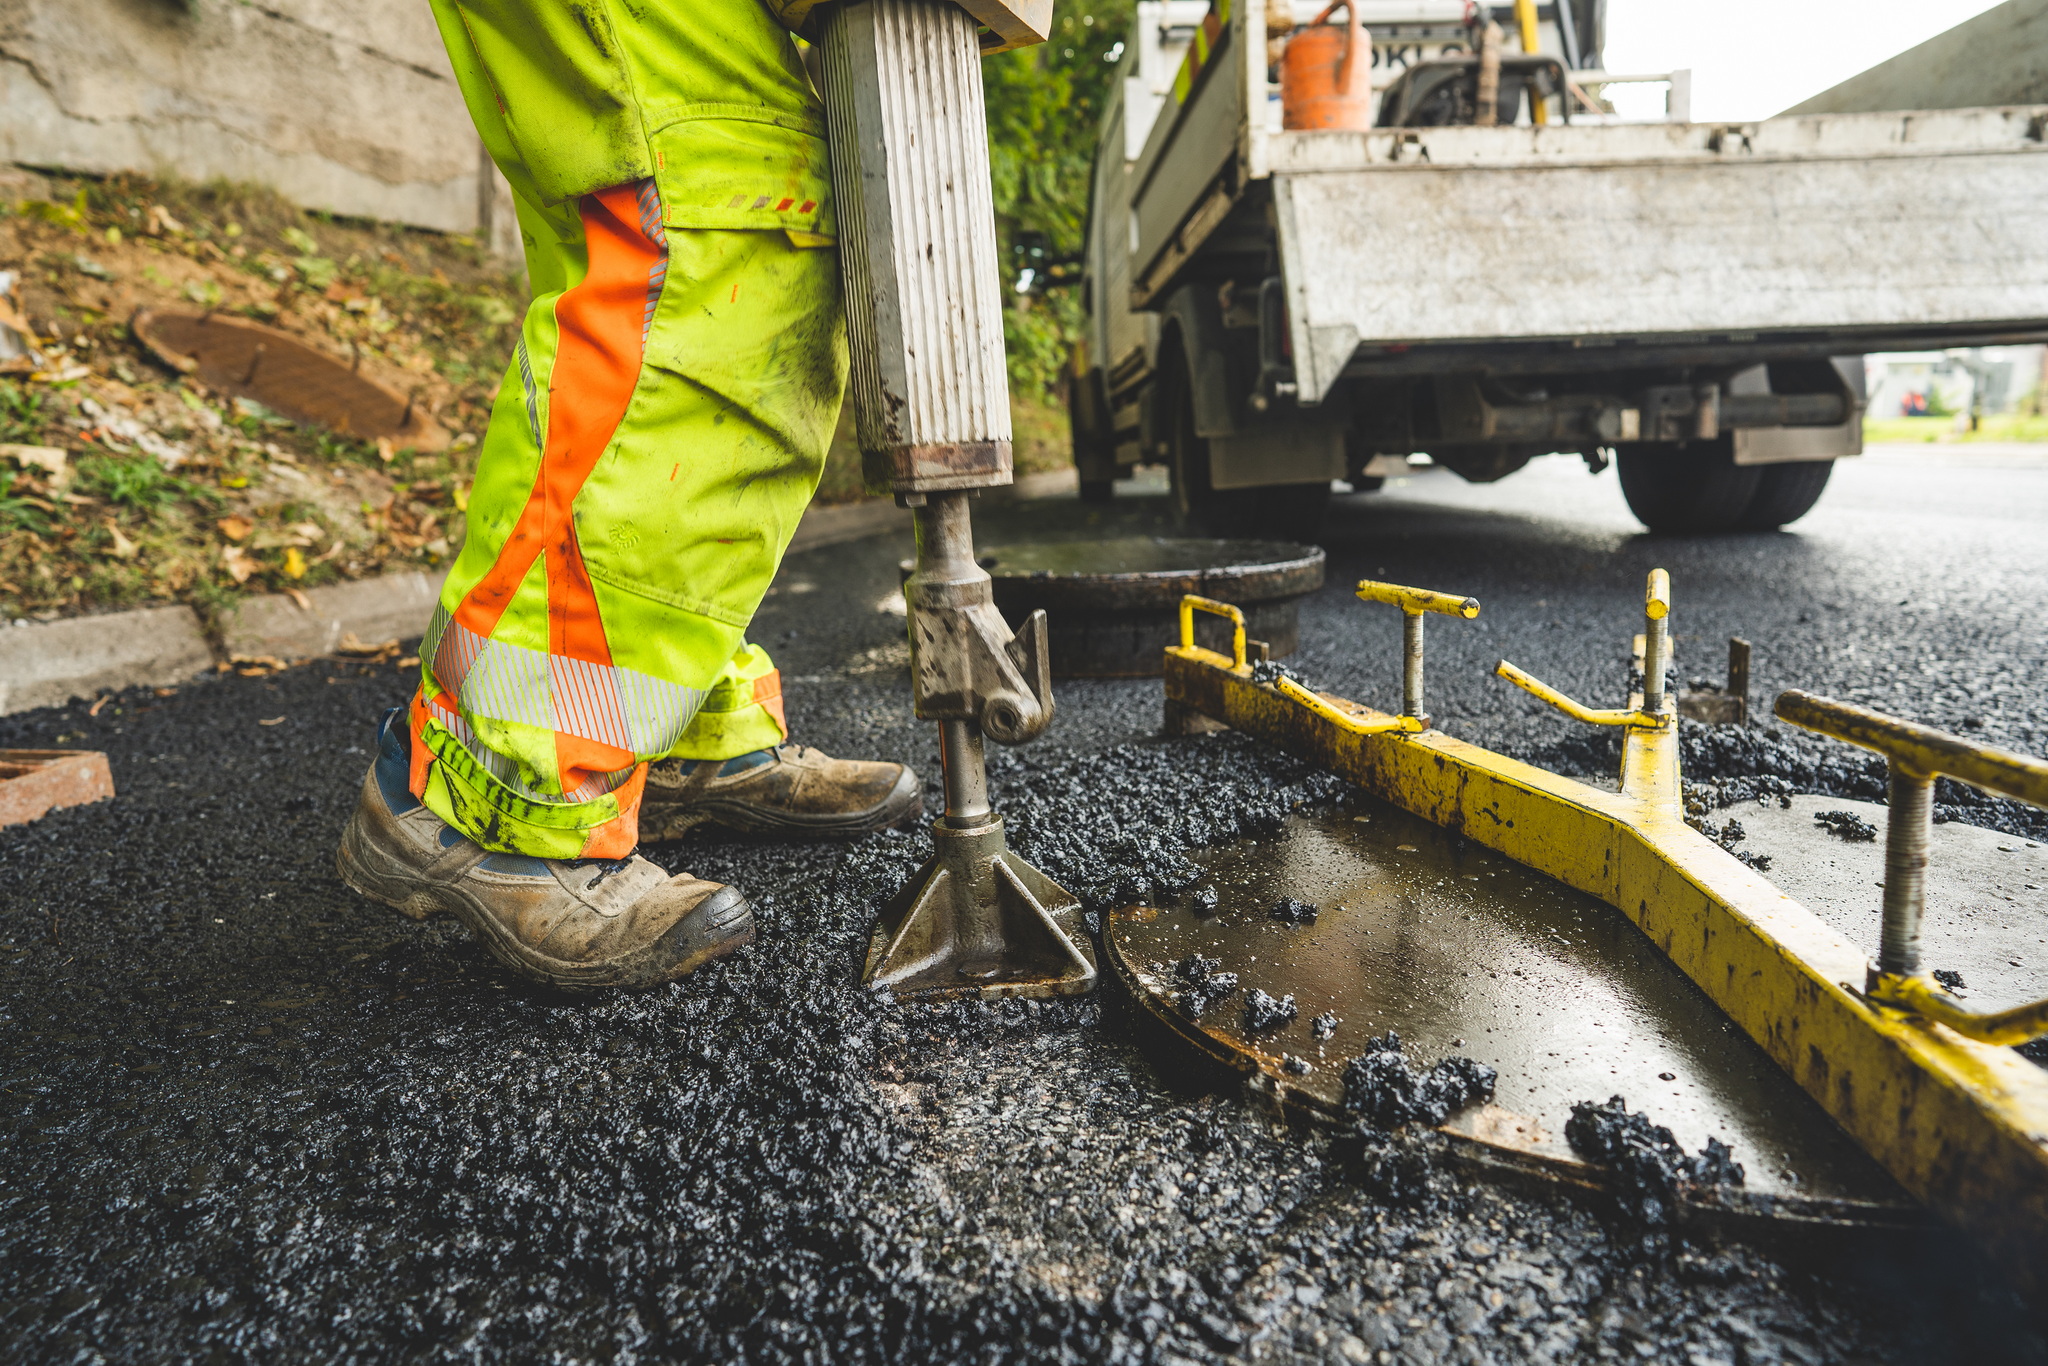
8. Base asphalt layer
- Warm asphalt concrete required
- Clean the formwork surface

9. Compacting
- Tighten the substrate very well so that the hole does not collapse
- Proceed very carefully
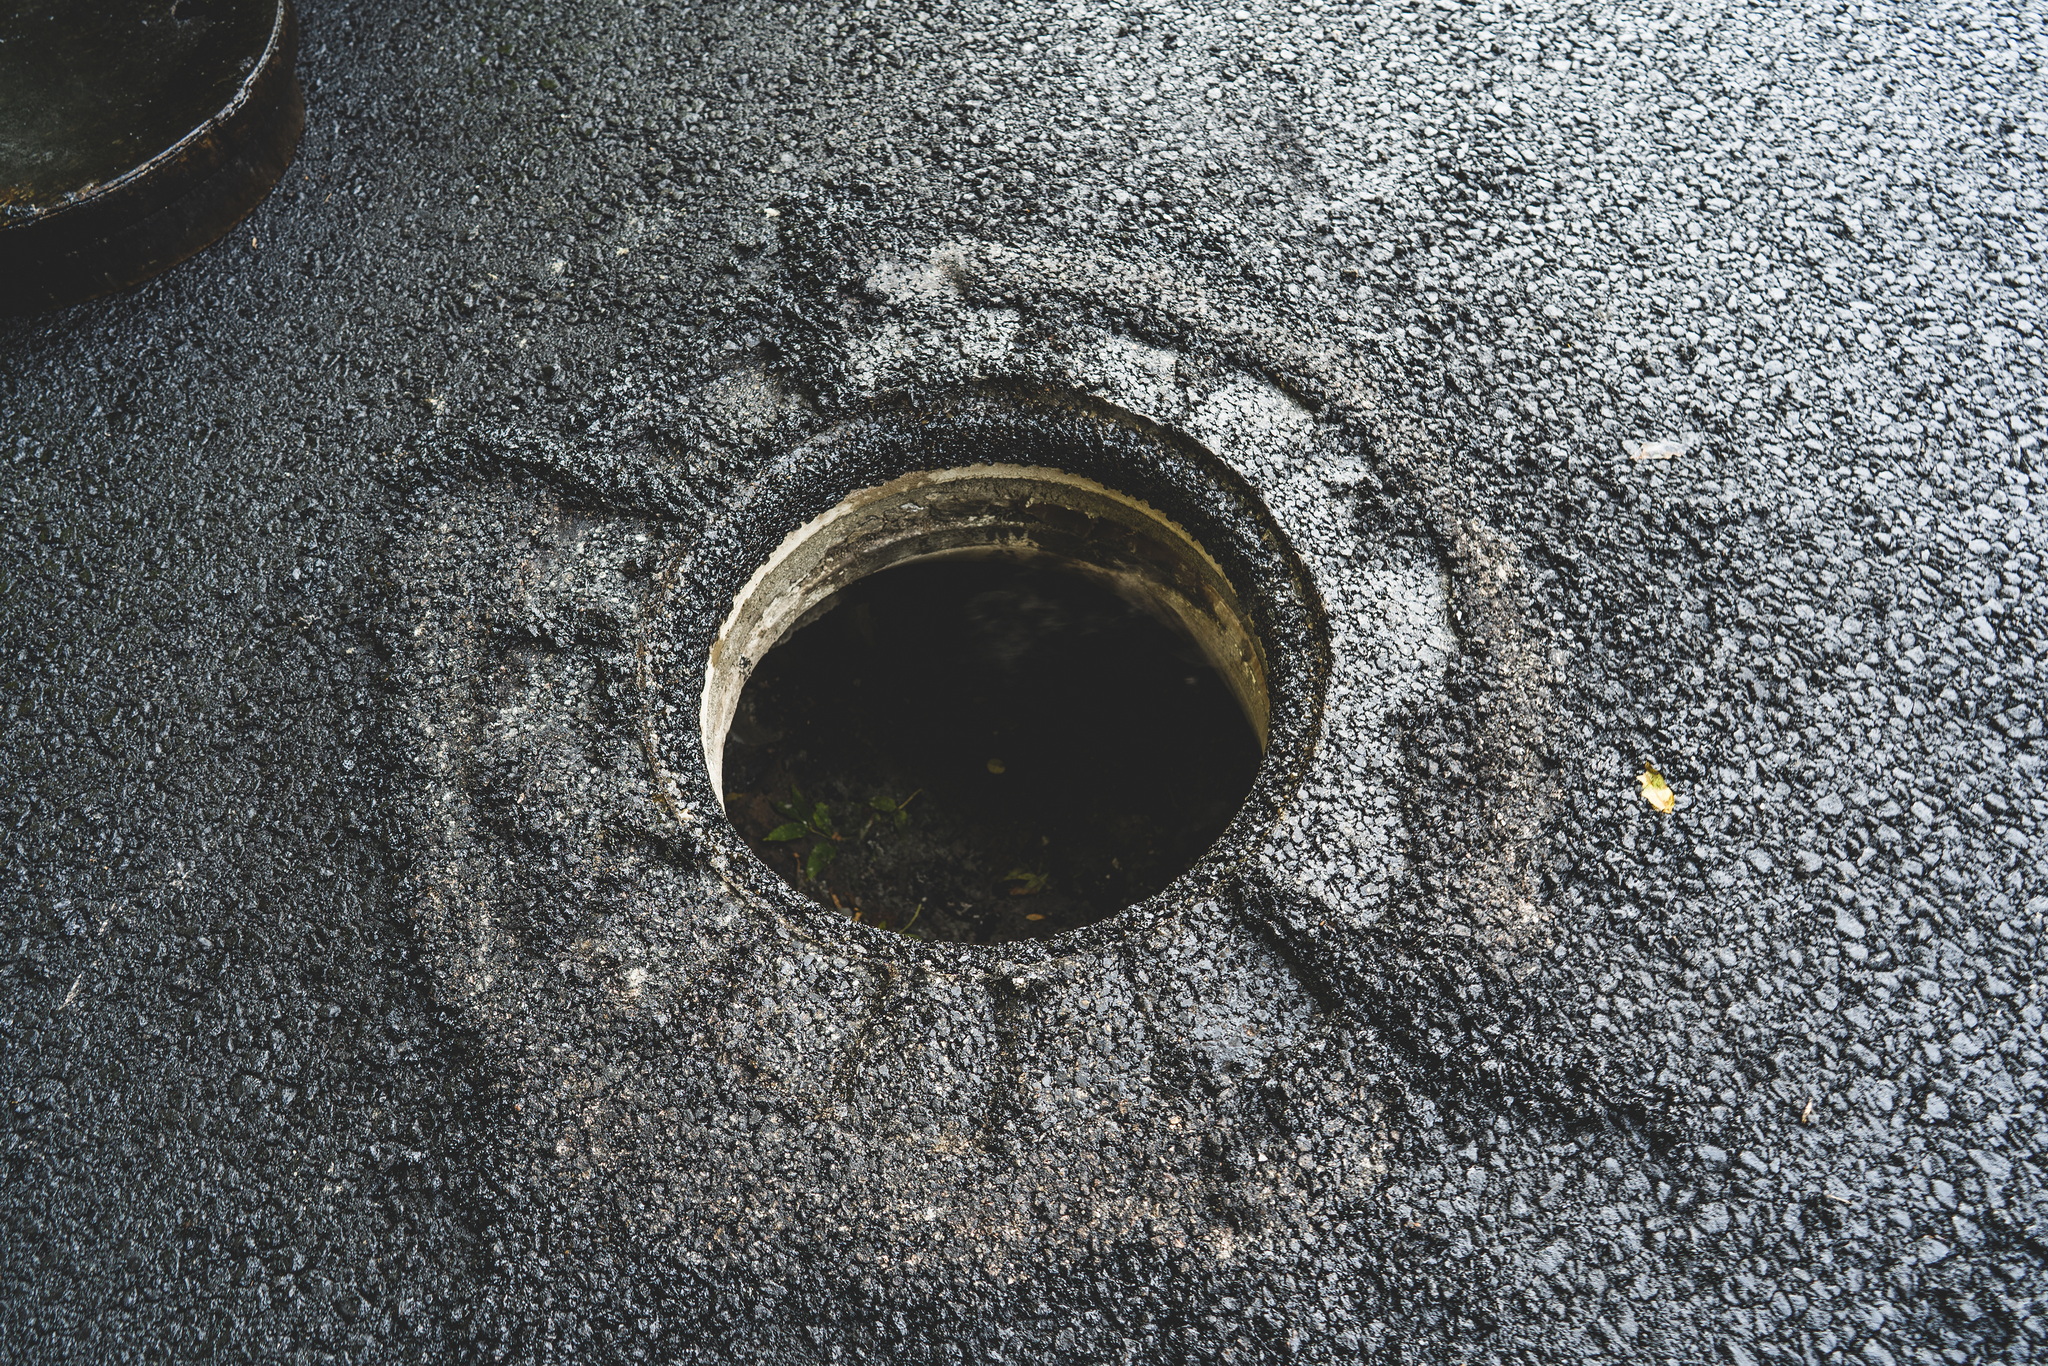
10. Removal of formwork and carrier
- Check the surface strength around the formwork
- Remove the formwork and the carrier
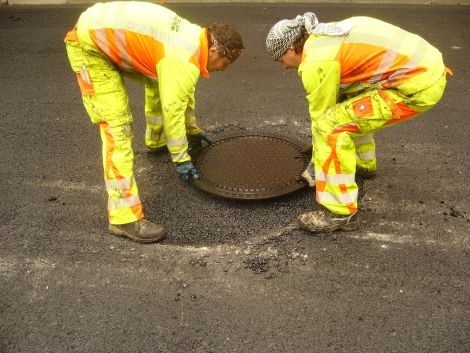
11. Installing the hatch
- The cover needs to be treated with mineral oil to prevent adhesion of asphalt
- The hatch is inserted into the tightened hole so that it is 10 mm below the future road level
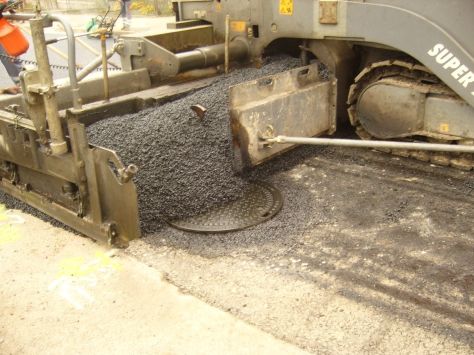
12. Laying the top layer
- The finisher goes over the hatch and lays down the abrasive layer
- The hatch remains in place
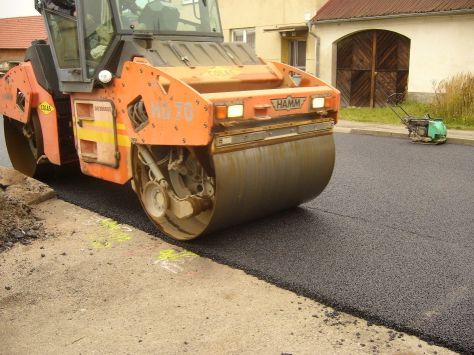
13. Compaction
- The running layer is compacted by rollers
- The hatch at least remains below the asphalt layer
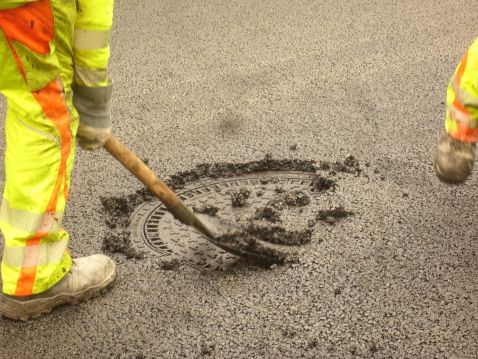
14. Uncovering the hatch
- The hatch is then uncovered
- Remove dirt from the surface of the set
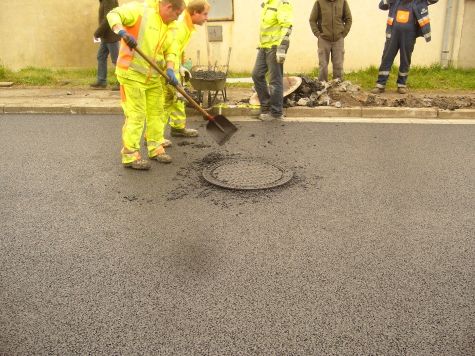
15. Extrusion
- Only extrude the hatch out slightly and pad using asphalt concrete
- Do not use already used or compacting asphalt concrete
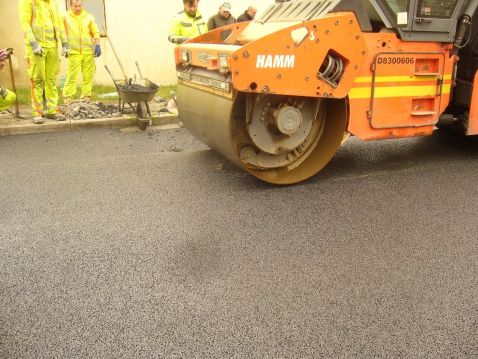
16. Push the frame in
- The self-levelling frame must be pressed into the warm pack
- The last cylinder will do it, and only by vibrating
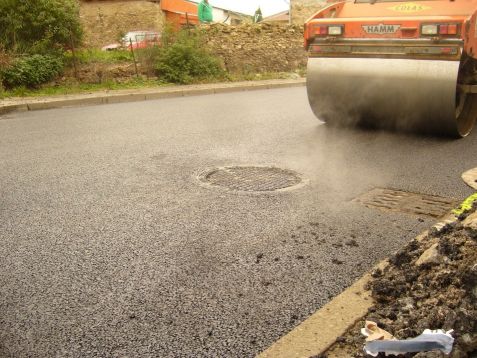
Resulting work
- Perform a flatness check, remove debris
- Ideal plane but dirty hatch
Spravovat Souhlas
Abychom poskytli co nejlepší služby, používáme k ukládání a/nebo přístupu k informacím o zařízení, technologie jako jsou soubory cookies. Souhlas s těmito technologiemi nám umožní zpracovávat údaje, jako je chování při procházení nebo jedinečná ID na tomto webu. Nesouhlas nebo odvolání souhlasu může nepříznivě ovlivnit určité vlastnosti a funkce.
Funkční Always active
Technické uložení nebo přístup je nezbytně nutný pro legitimní účel umožnění použití konkrétní služby, kterou si odběratel nebo uživatel výslovně vyžádal, nebo pouze za účelem provedení přenosu sdělení prostřednictvím sítě elektronických komunikací.
Předvolby
Technické uložení nebo přístup je nezbytný pro legitimní účel ukládání preferencí, které nejsou požadovány odběratelem nebo uživatelem.
Statistiky
Technické uložení nebo přístup, který se používá výhradně pro statistické účely.
Technické uložení nebo přístup, který se používá výhradně pro anonymní statistické účely. Bez předvolání, dobrovolného plnění ze strany vašeho Poskytovatele internetových služeb nebo dalších záznamů od třetí strany nelze informace, uložené nebo získané pouze pro tento účel, obvykle použít k vaší identifikaci.
Marketing
Technické uložení nebo přístup je nutný k vytvoření uživatelských profilů za účelem zasílání reklamy nebo sledování uživatele na webových stránkách nebo několika webových stránkách pro podobné marketingové účely.
