MANUALLY AFTER FINISHER
Use at low shaft heights or light traffic loads
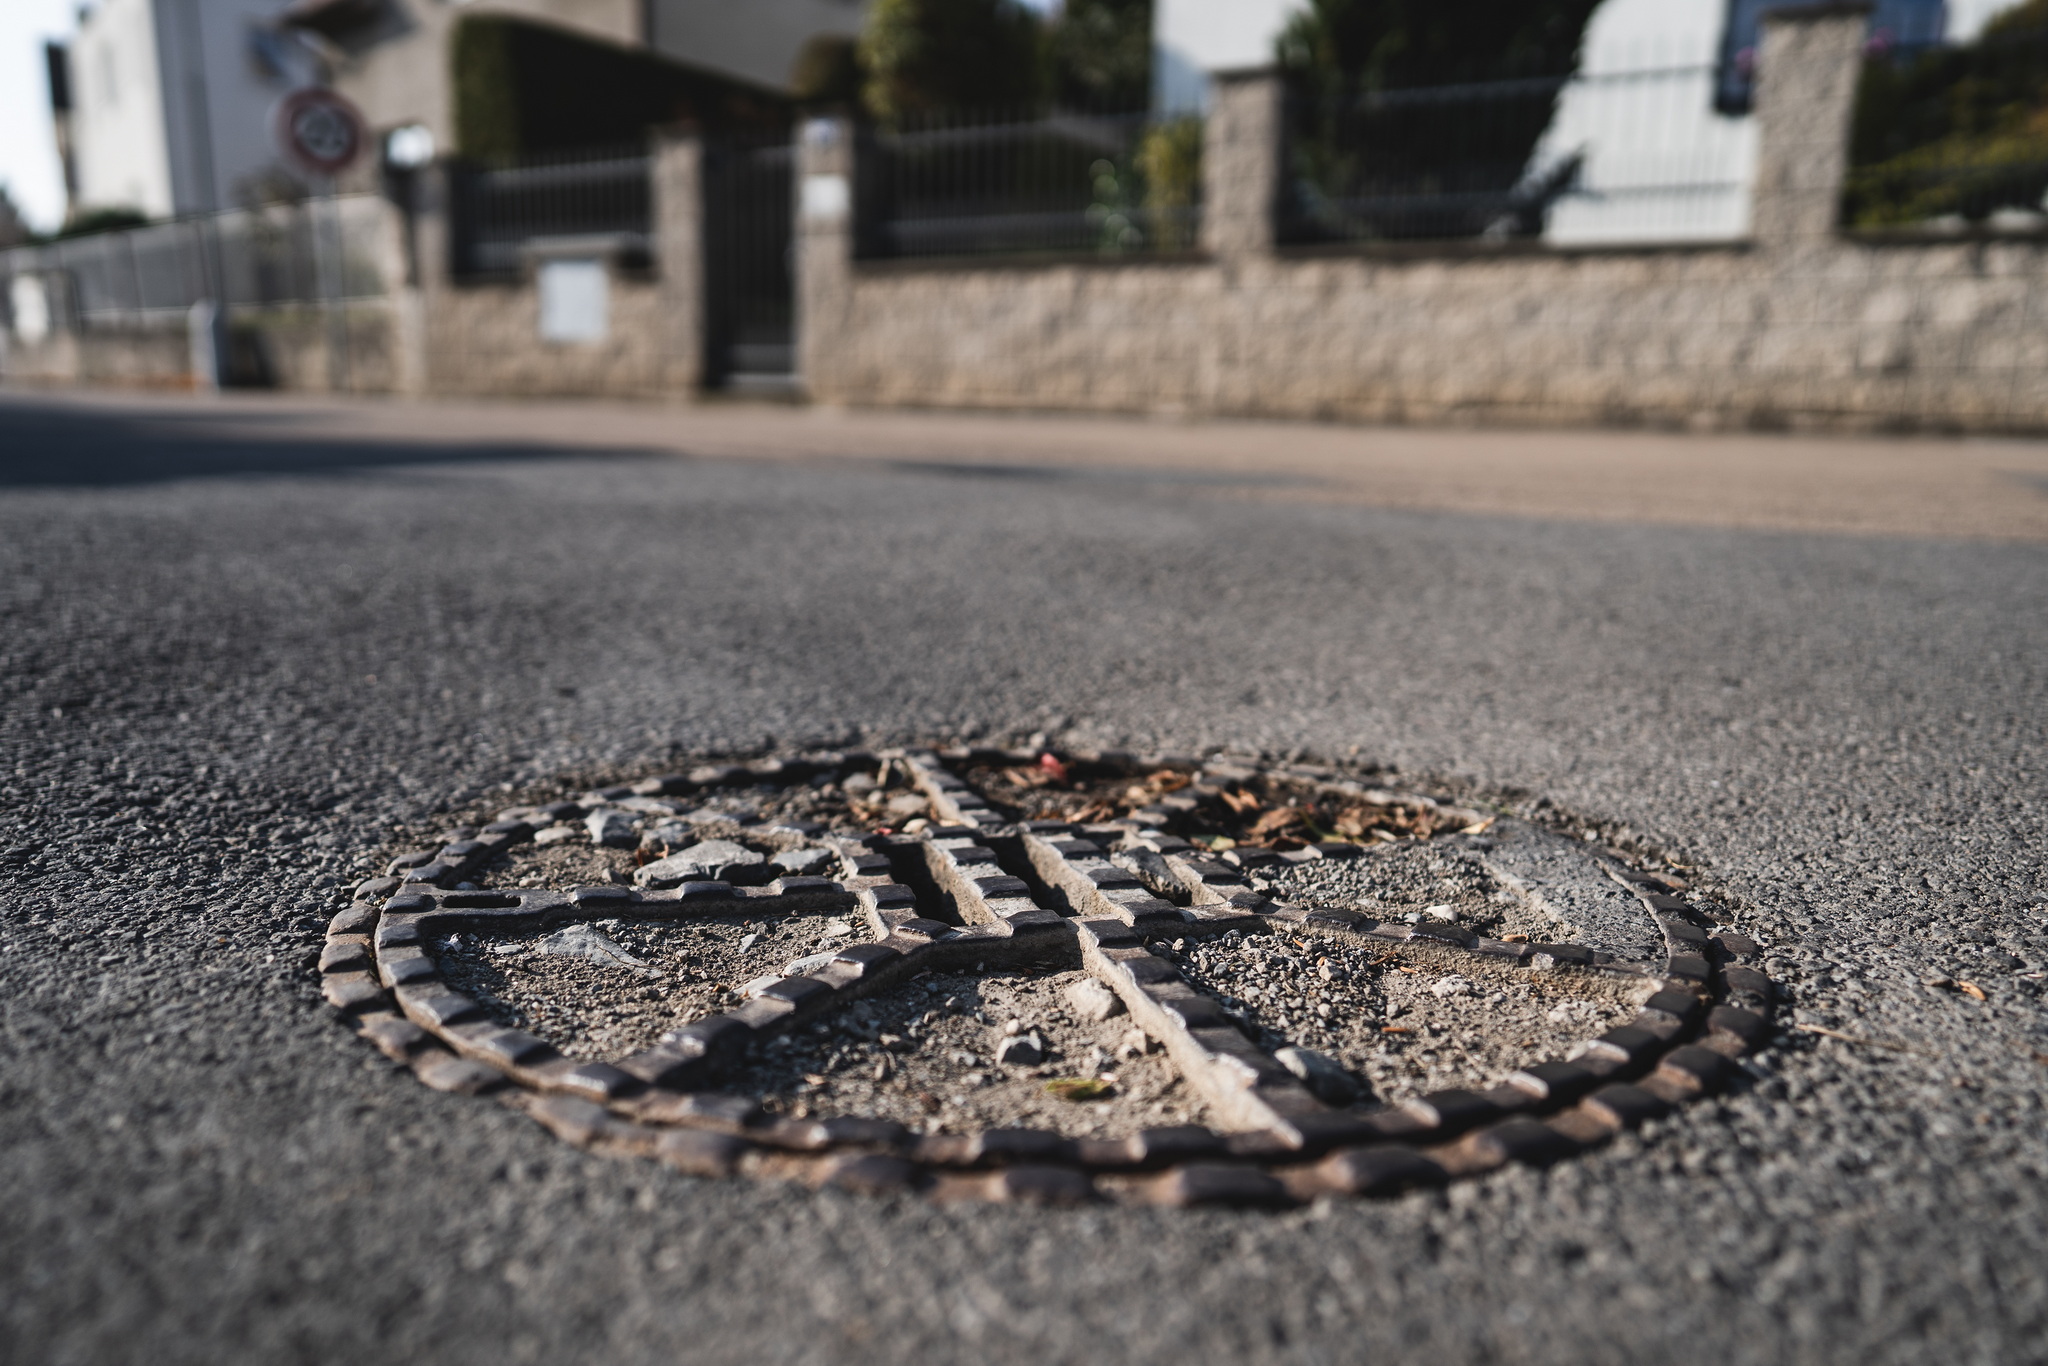
Product for replacement
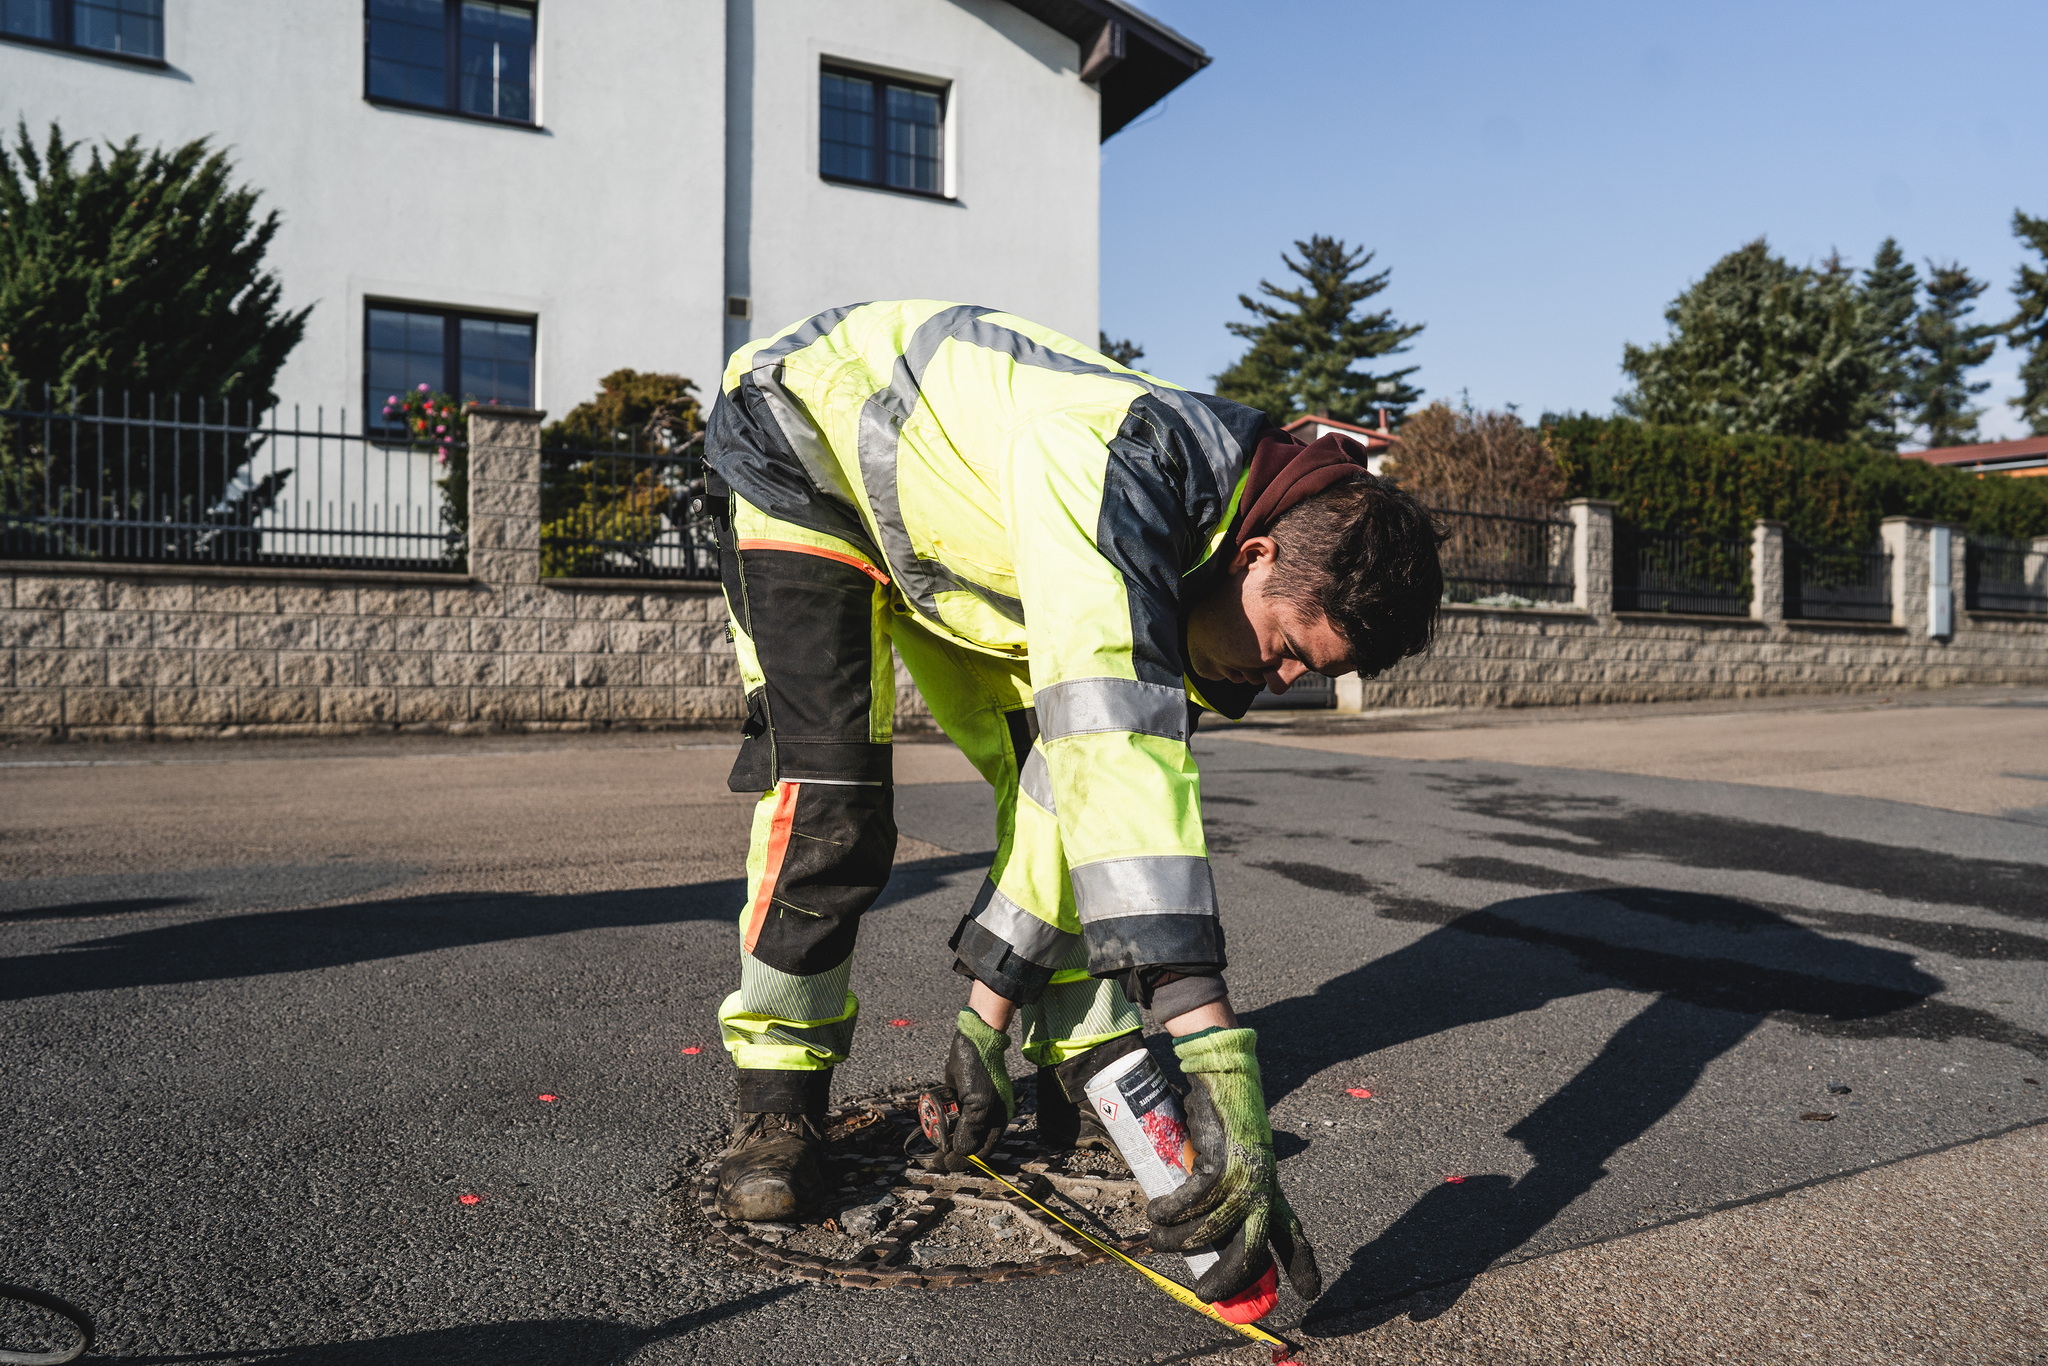
1. Cut-out marking
- Size according to the road flatness
- Preferably a circular cut-out ideally 300 mm from the frame edge
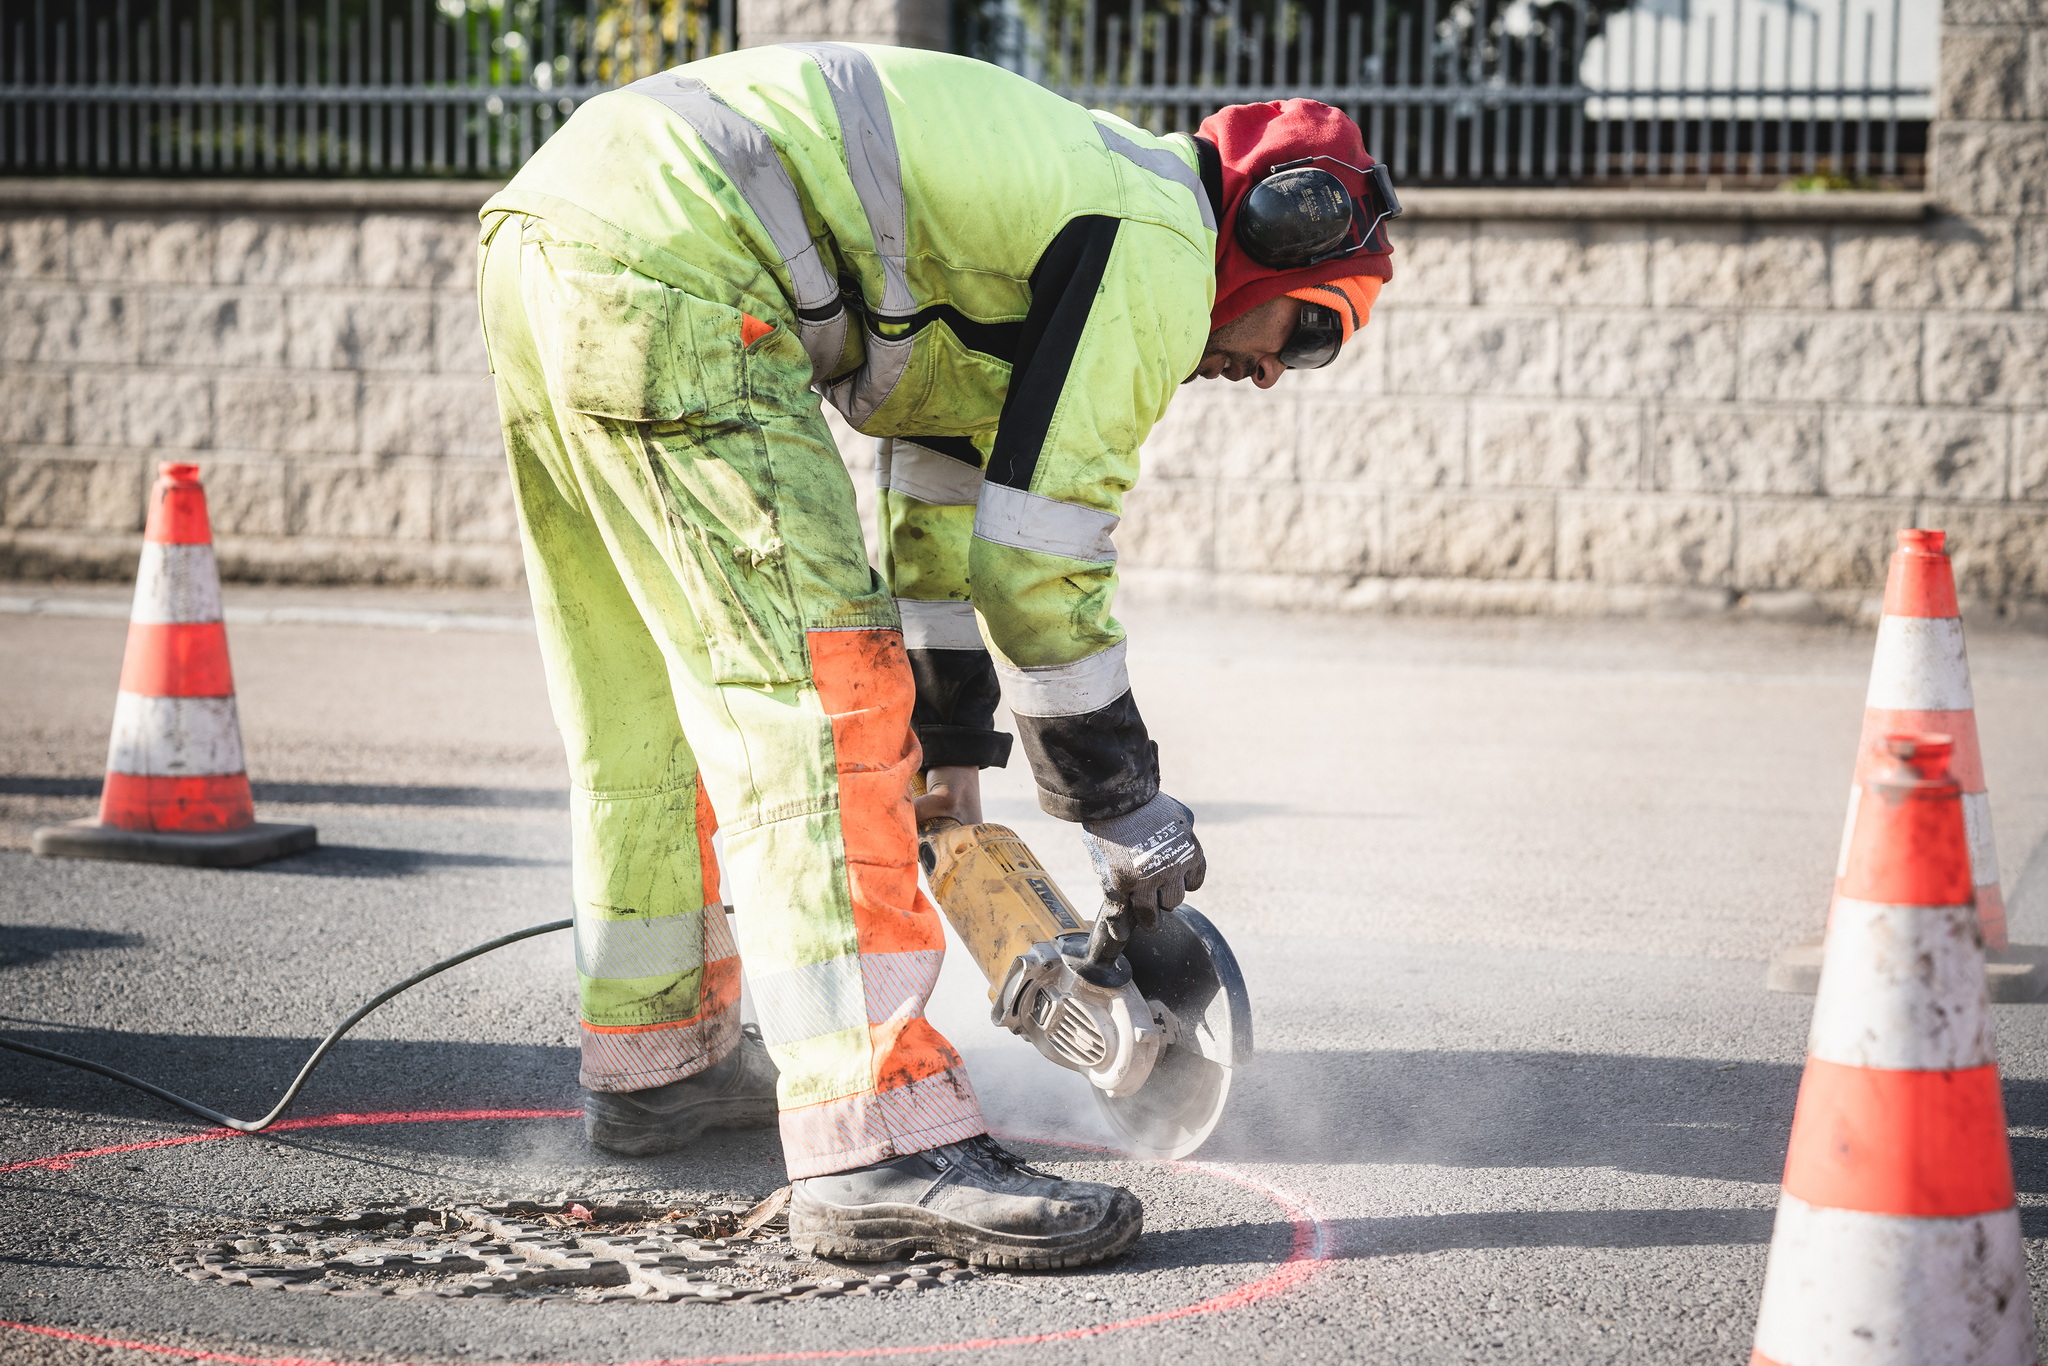
2. Road cutting
- Top perpendicular at least 60 mm
- Preferably using a mill with a perpendicular wall through the entire cut-out
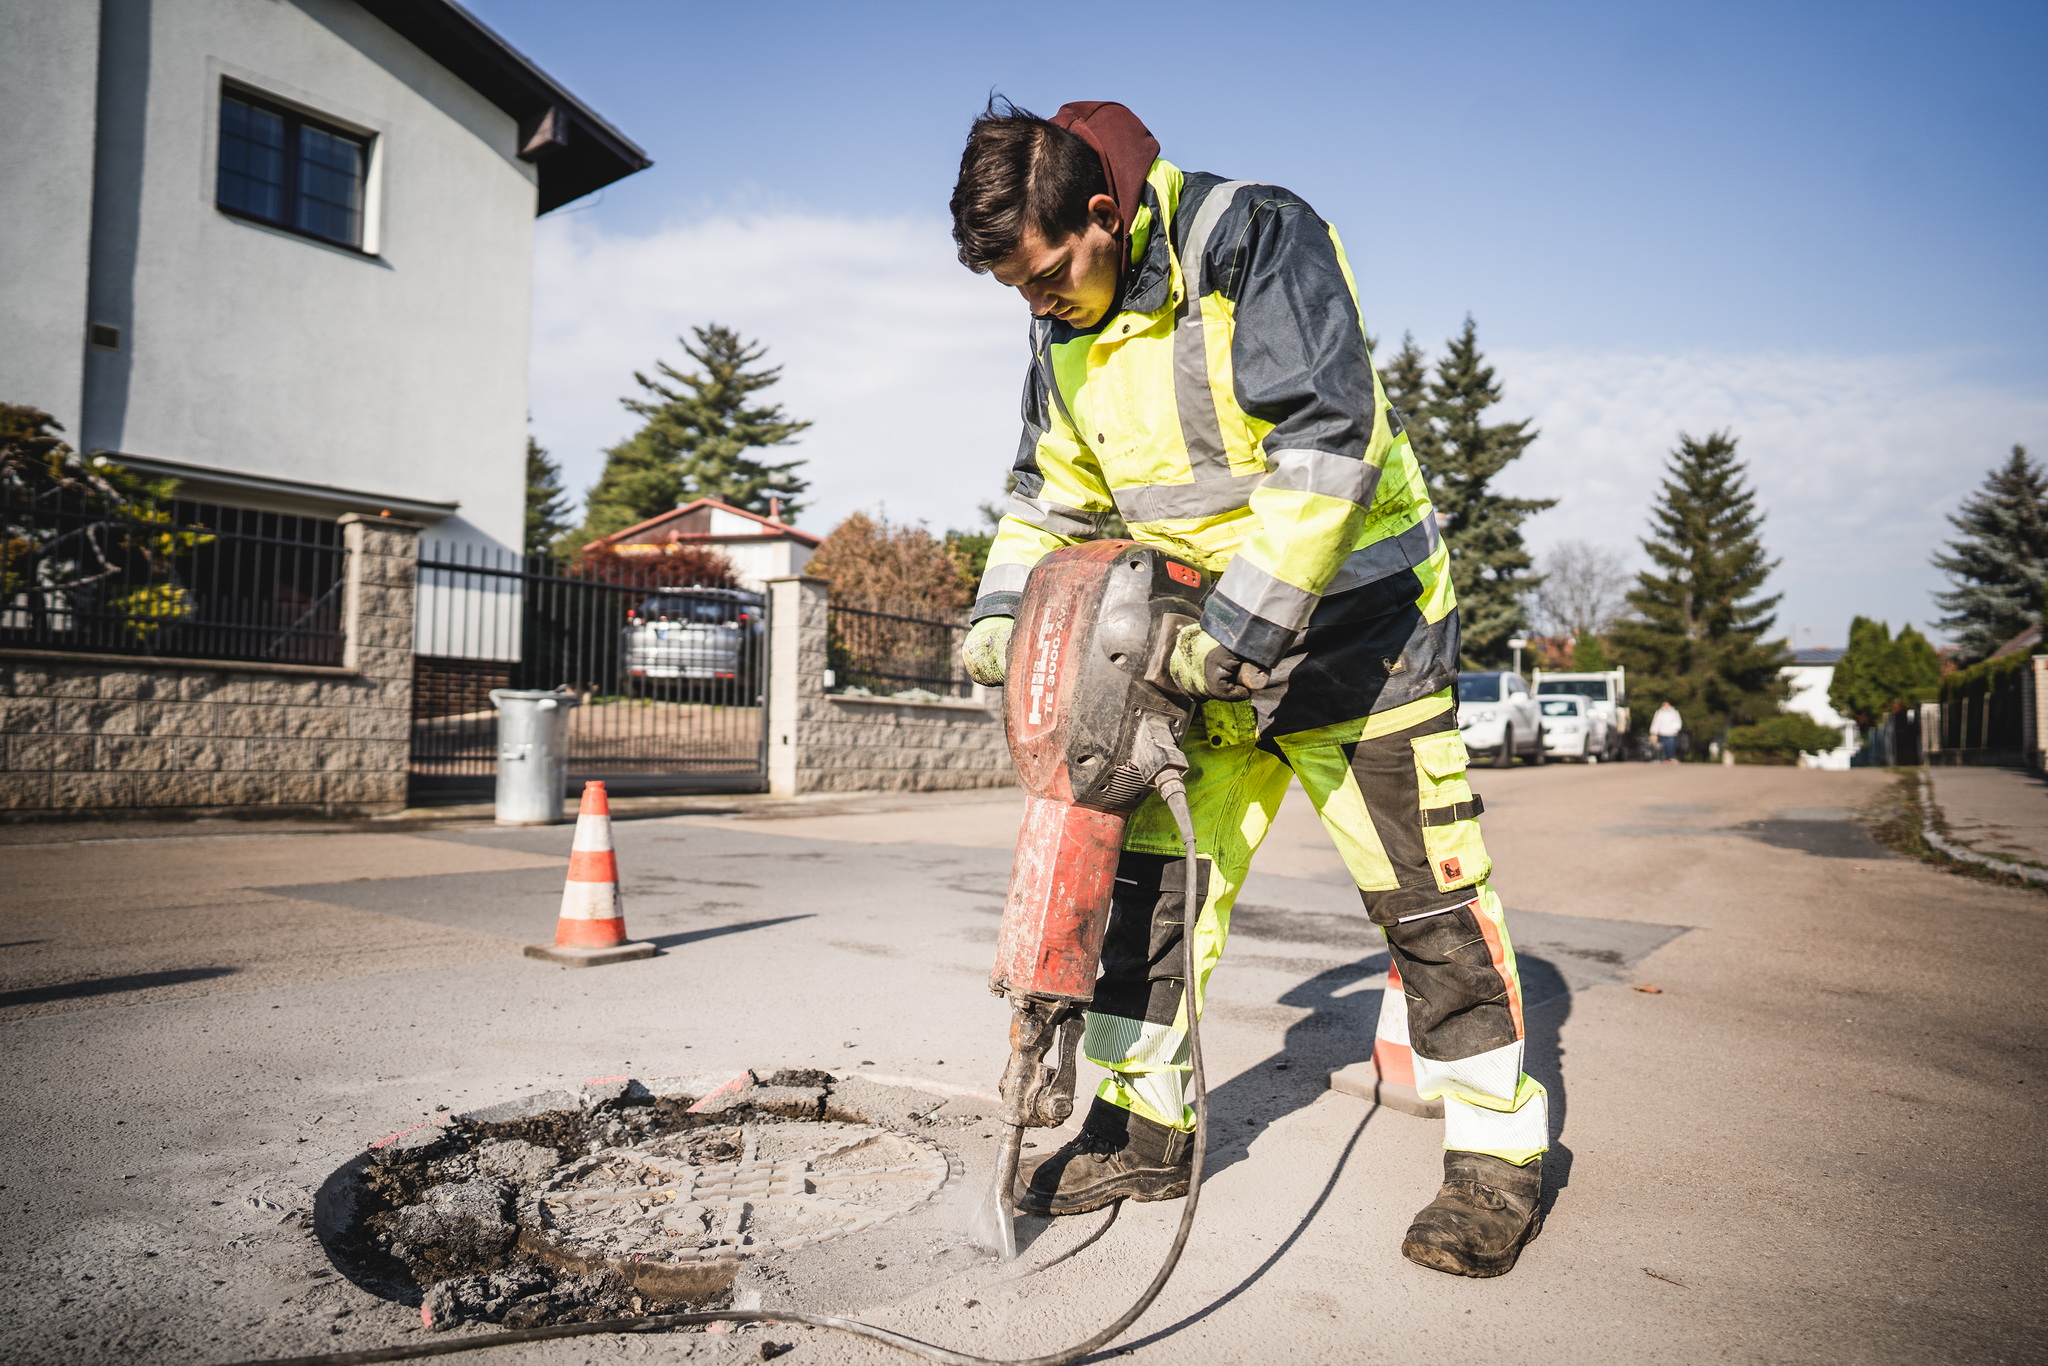
3. Demolition around the existing frame
- Leave the lid in place as long as possible
- It is important not to damage other surfaces
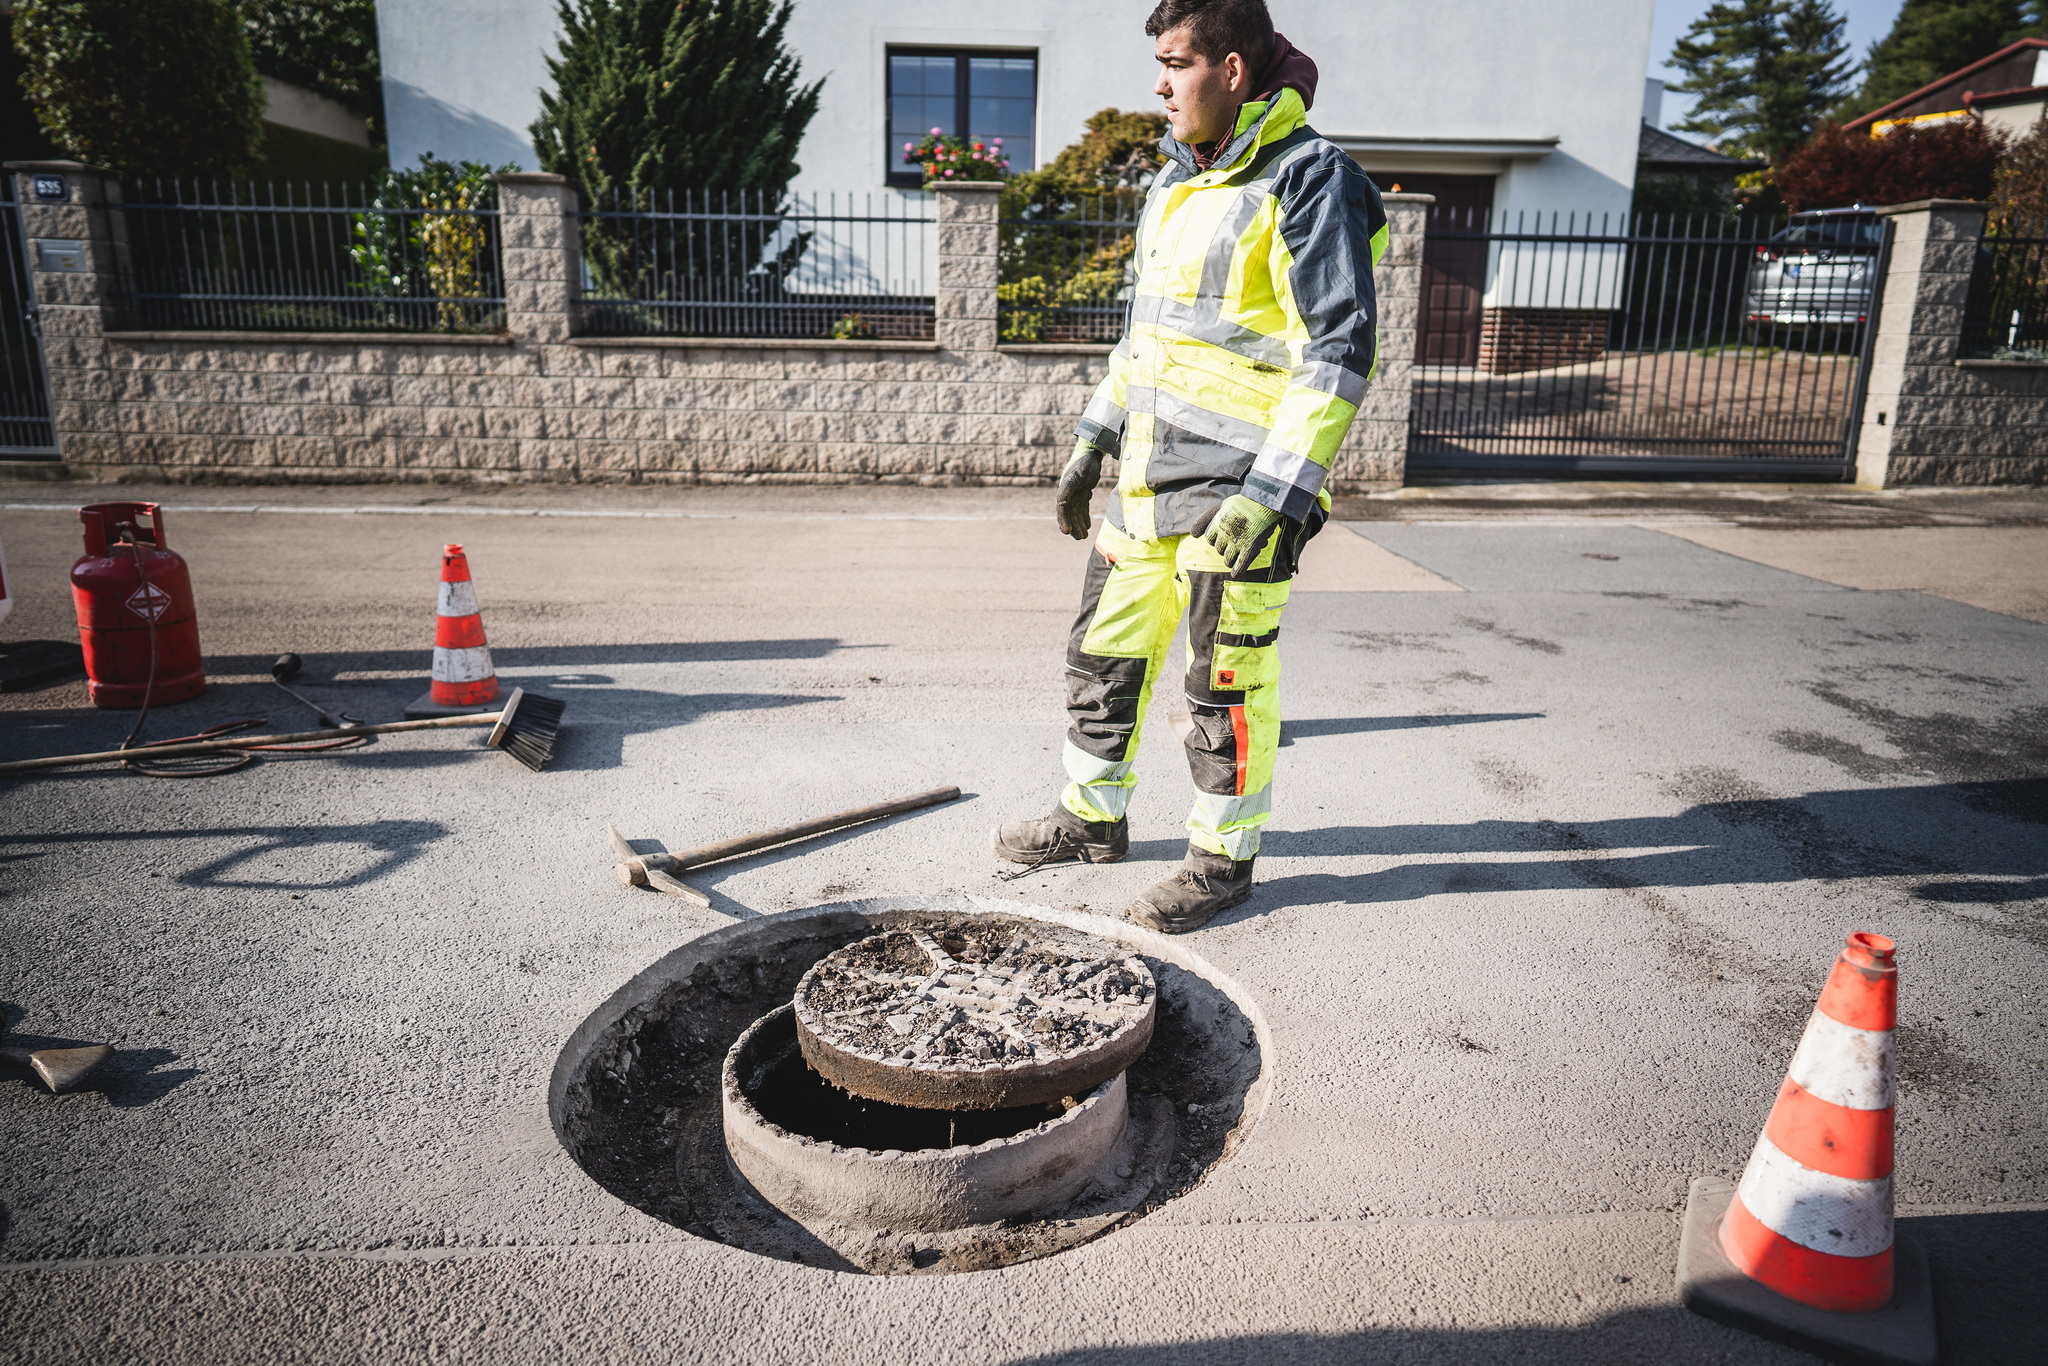
4. Removing the hatch
- Protect the shaft from falling debris
- Do not damage the top of the shaft
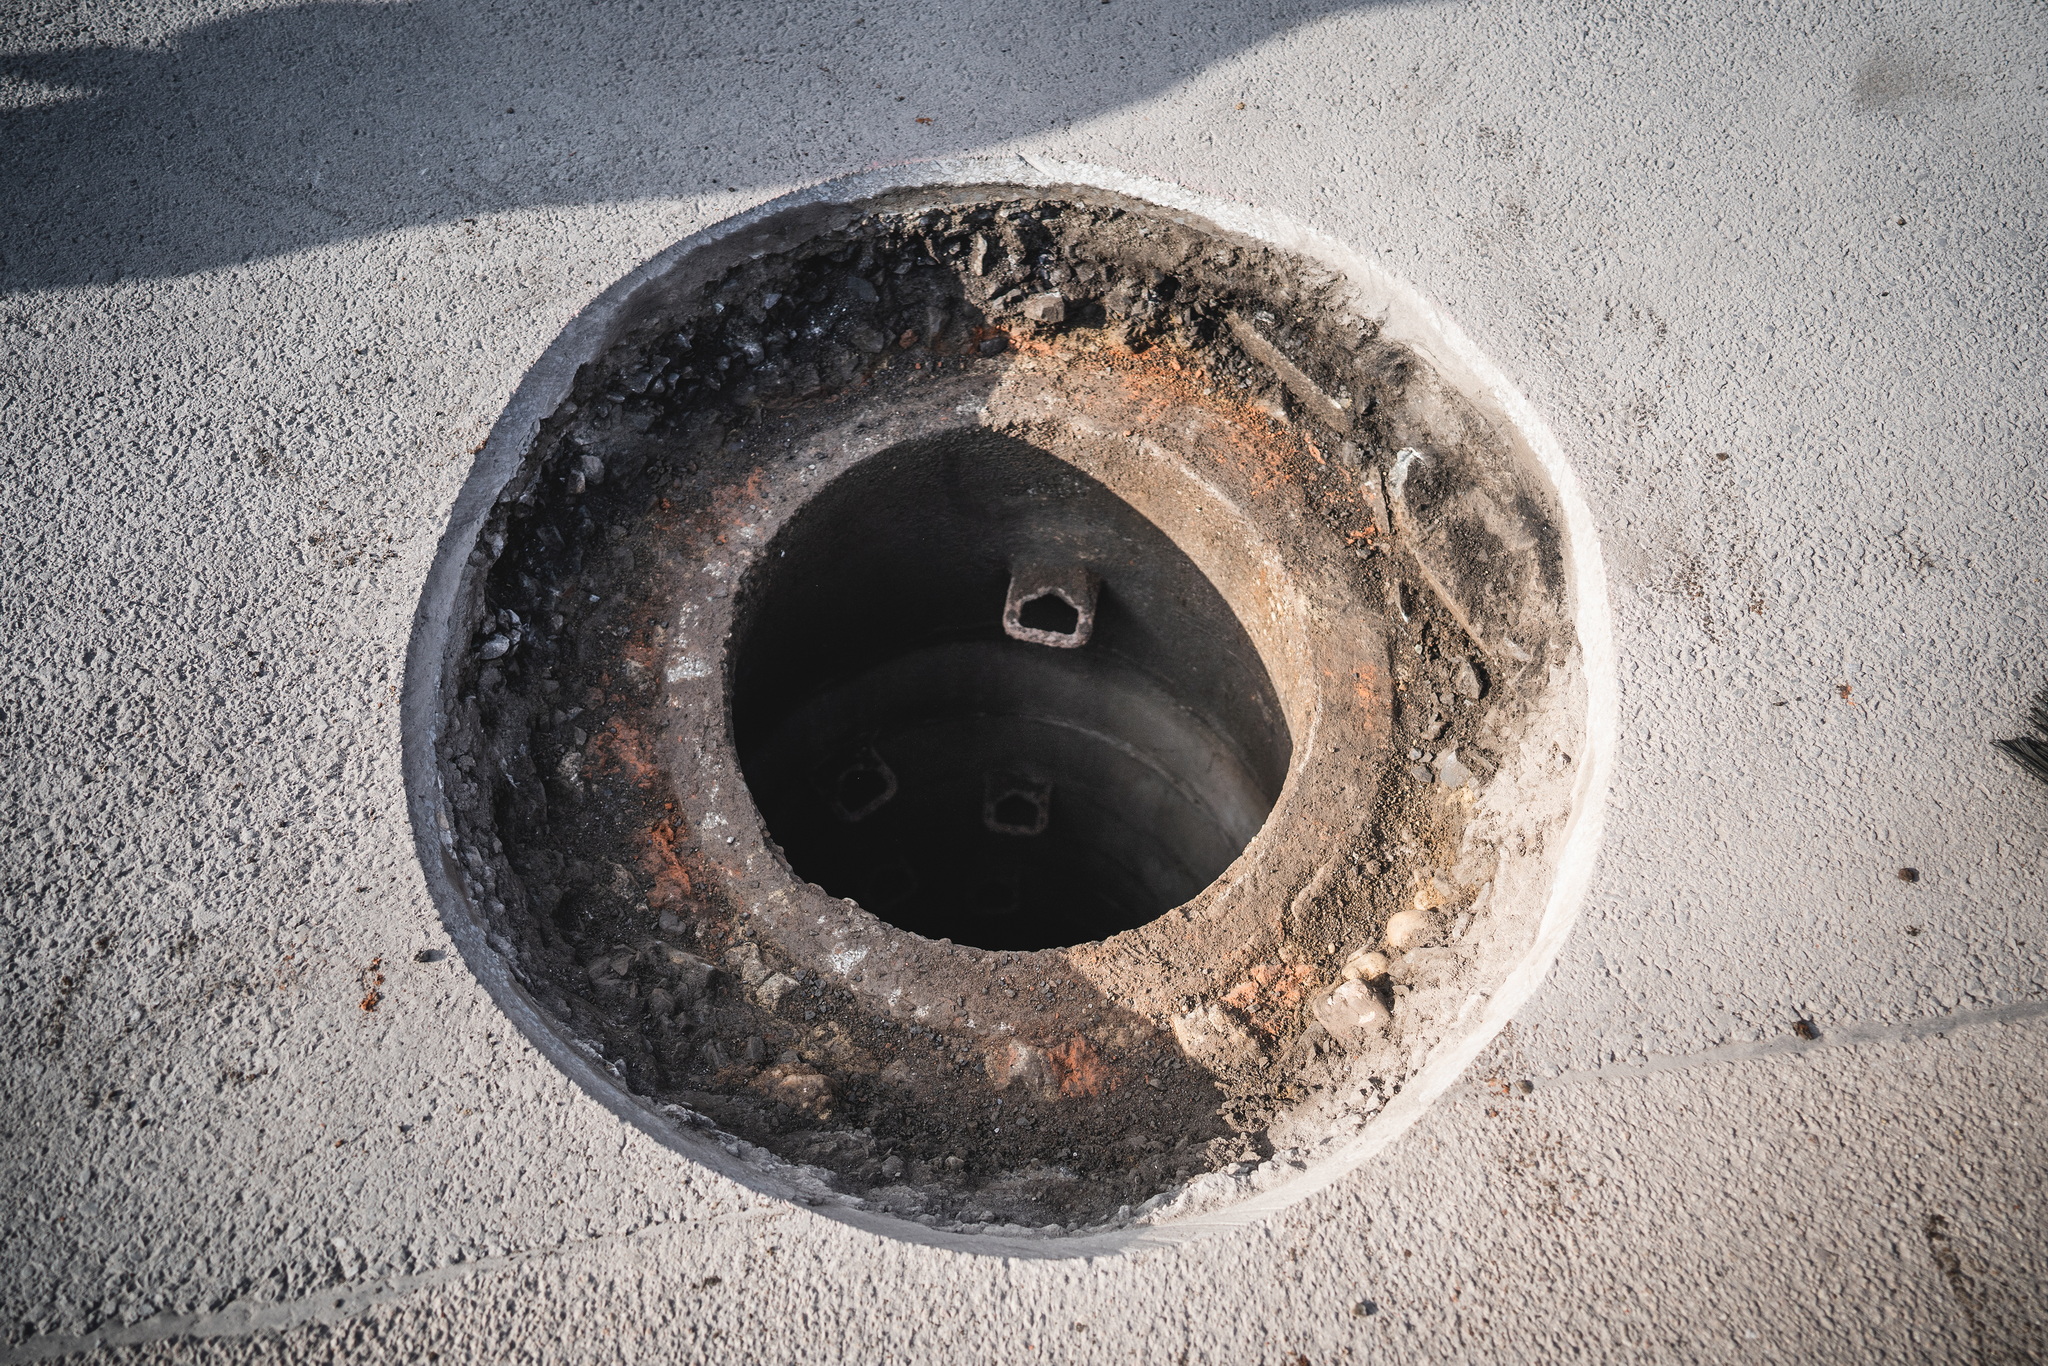
5. Cleaning the hole
- Remove all loose parts
- Wash out the dirt

6. Calculation of the composition
- Always better to have fewer balancing rings
- Expect 10-20 mm of high-strength material per connection point
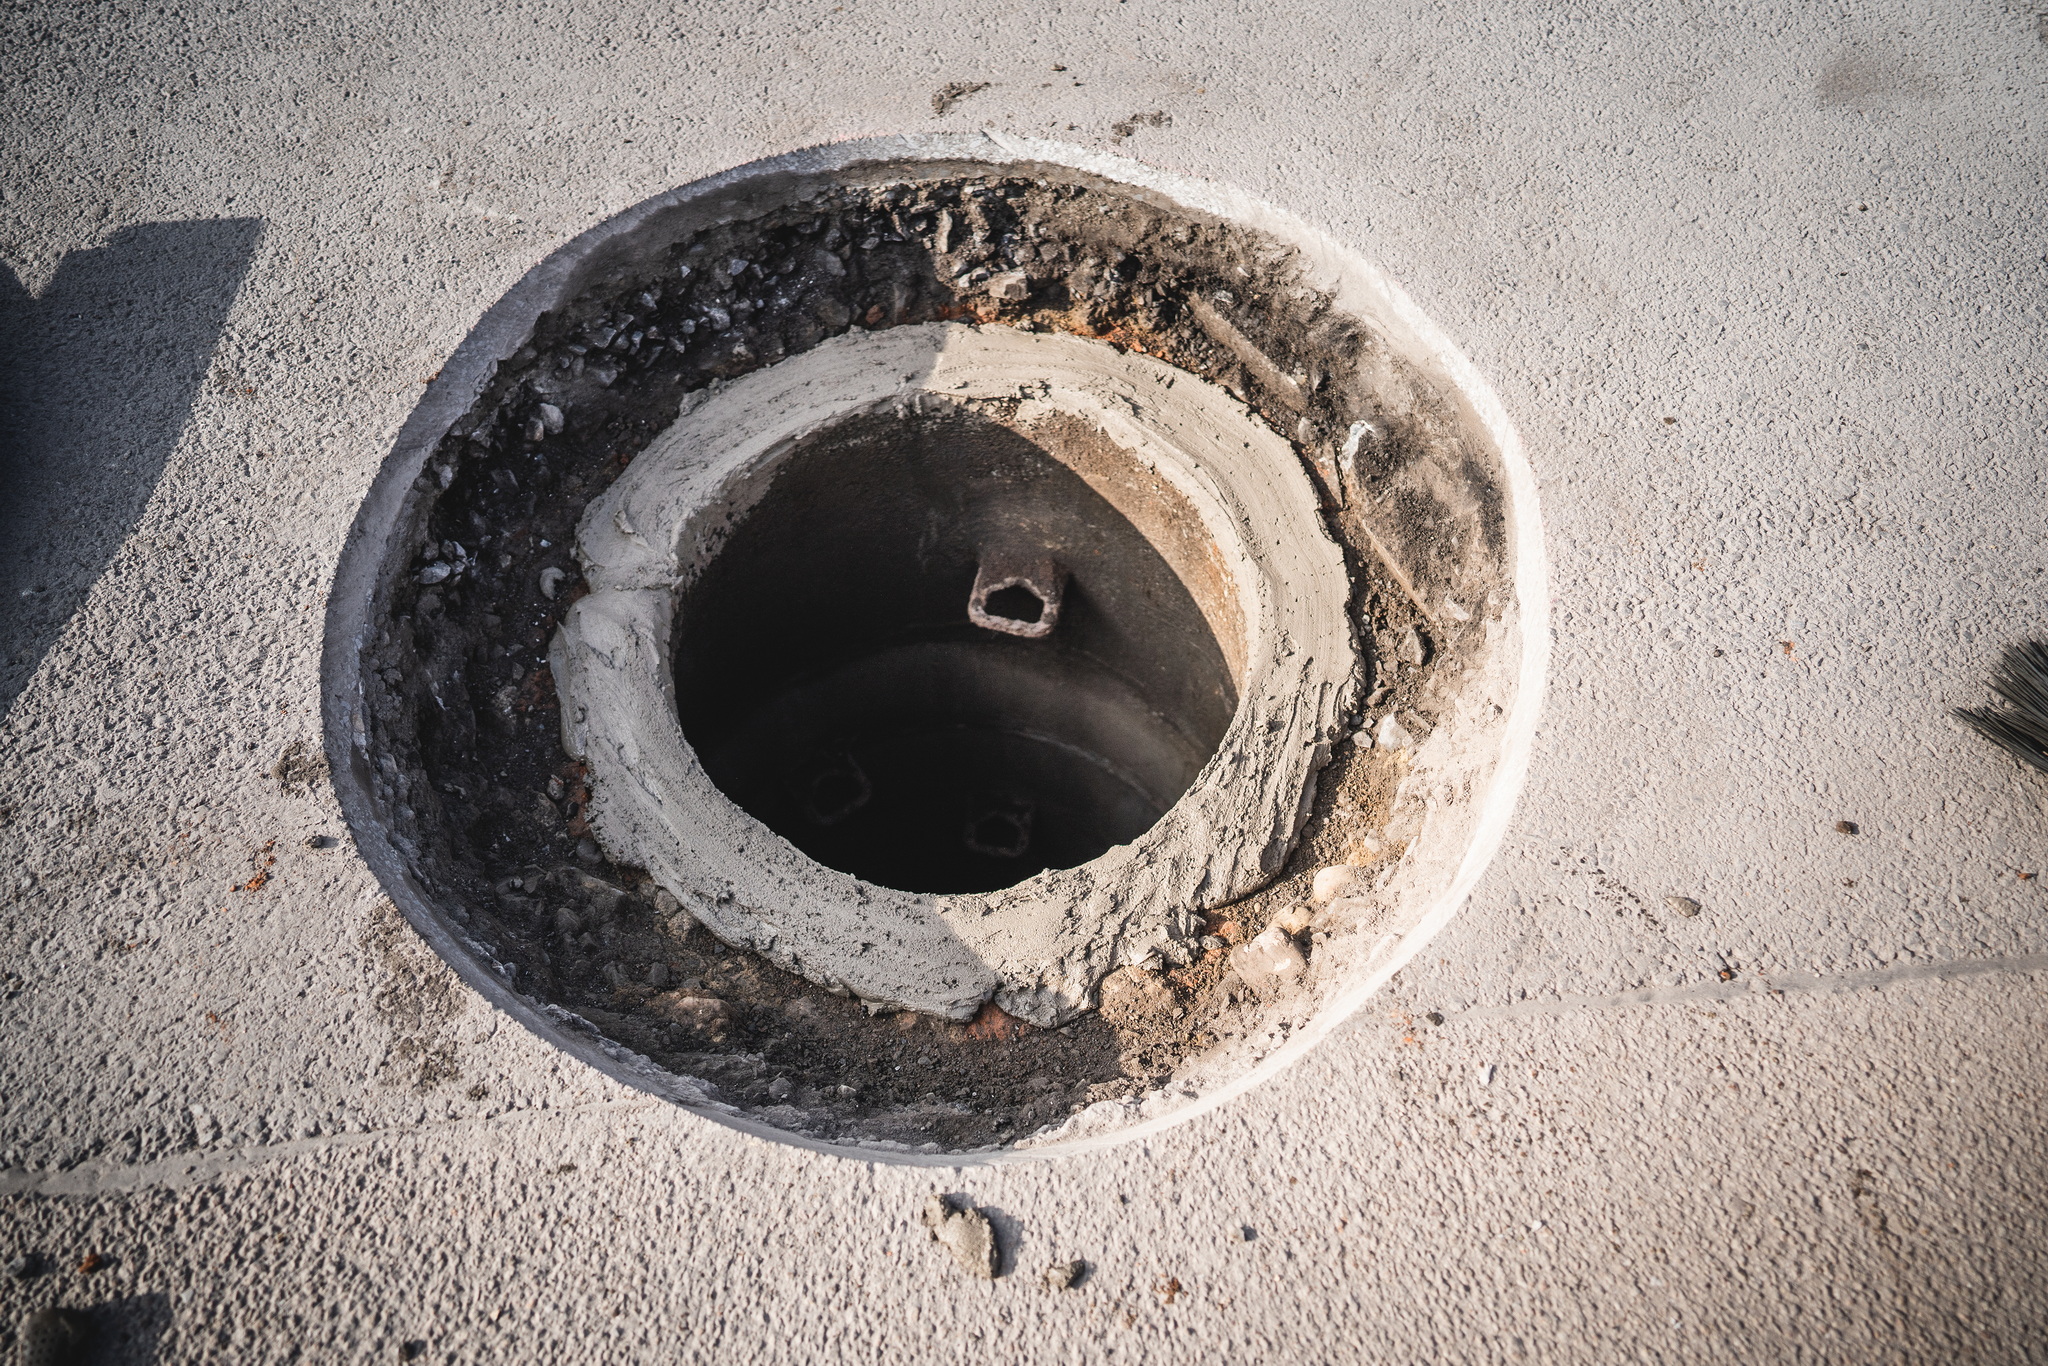
7. Mortar bed
- Always a material designed to fit a hatch with chemical resistance
- Can also be fit to the top using formwork
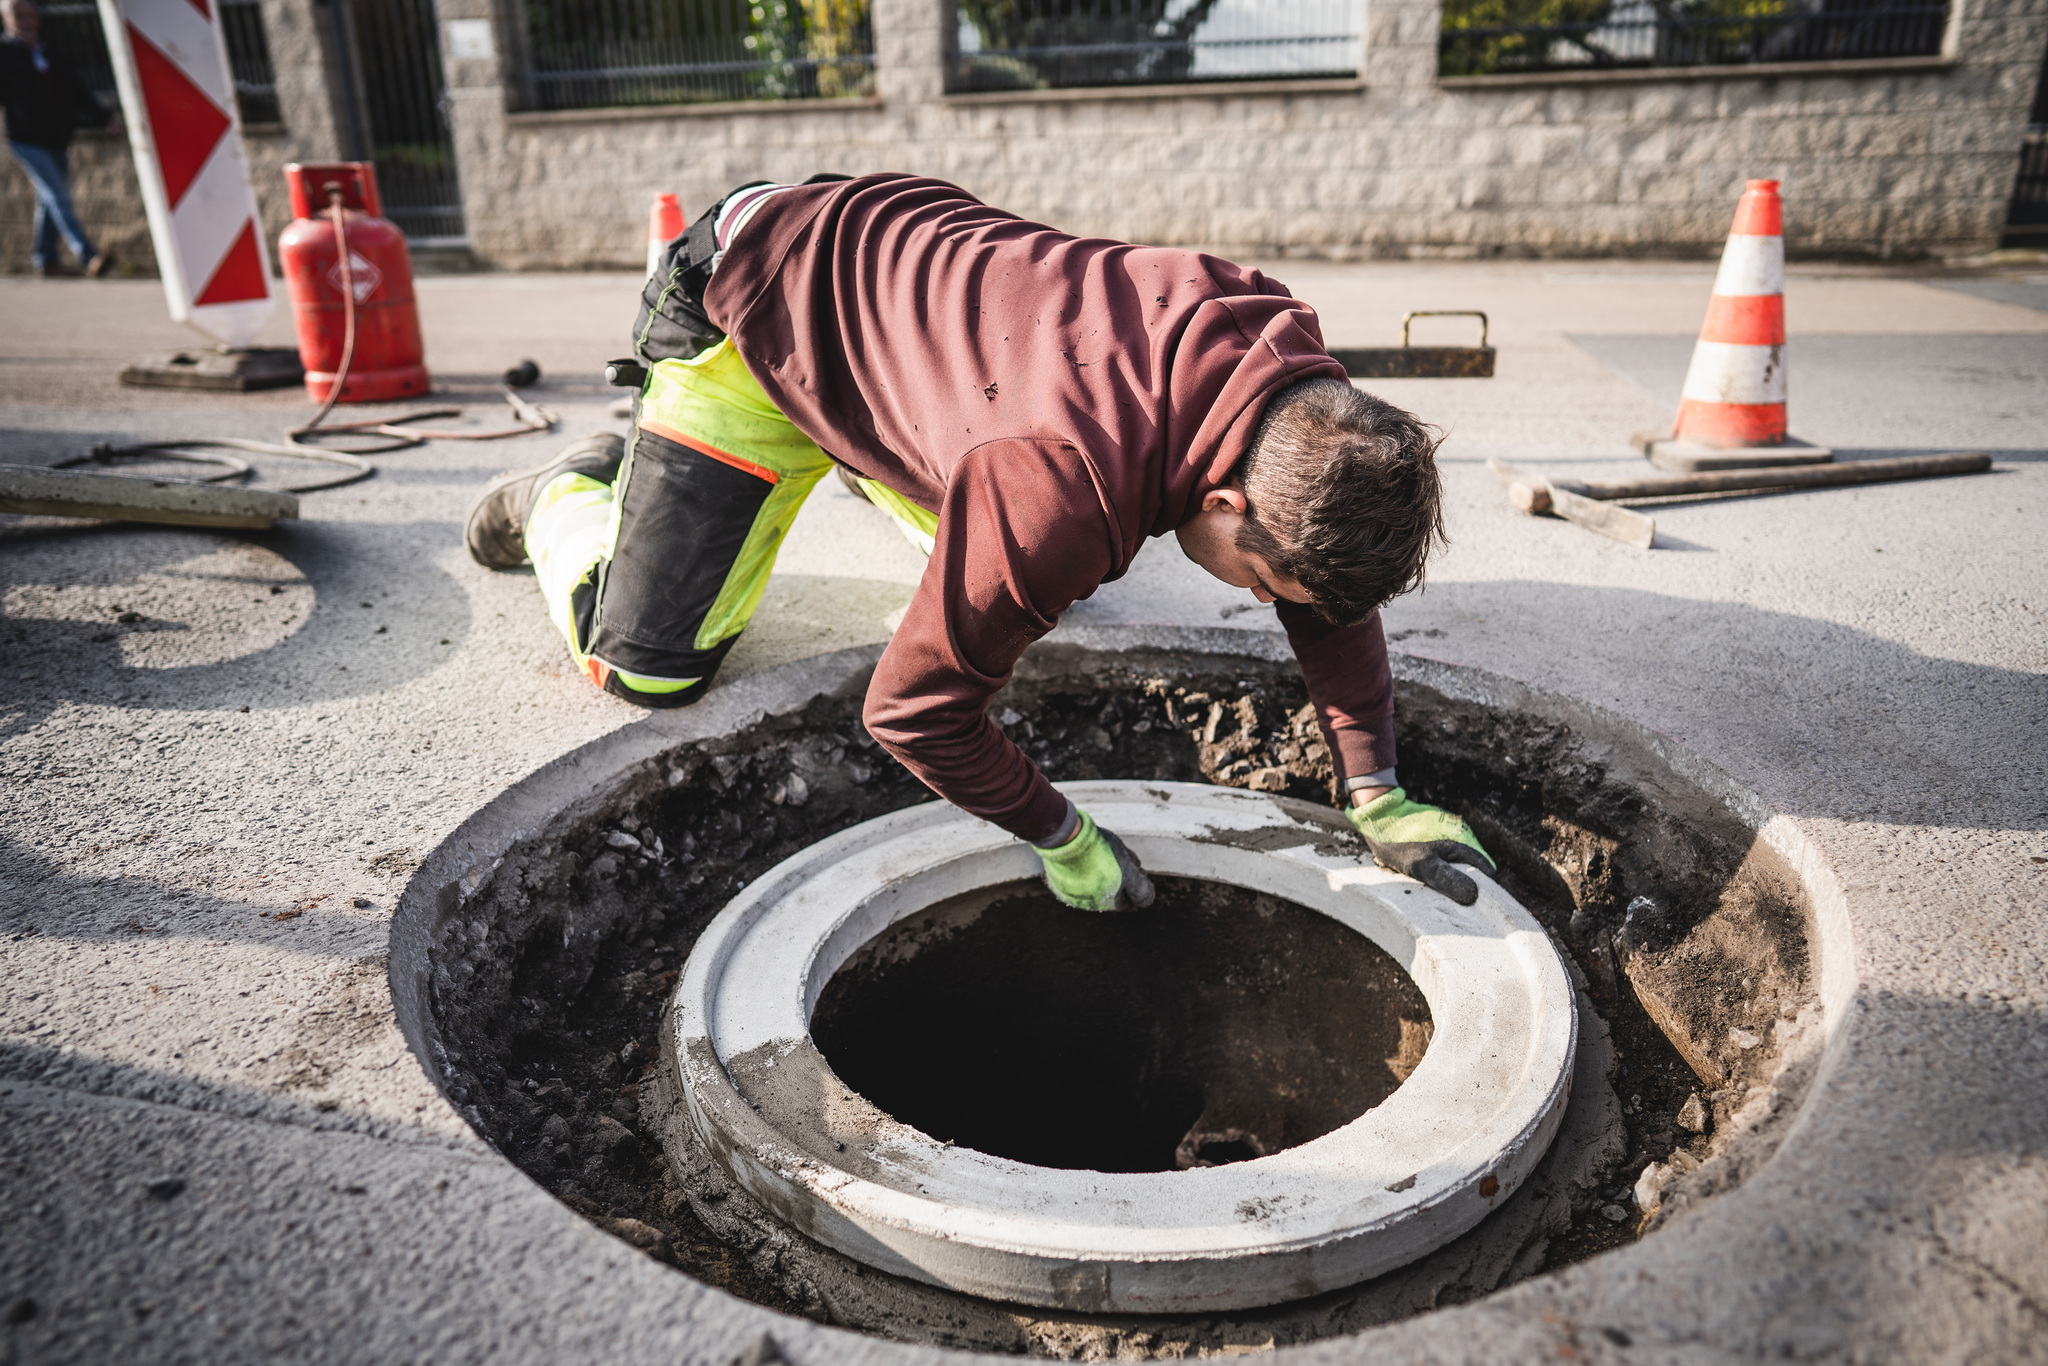
8. Fitting of rings
- Moisten the concrete rings
- The connecting surface must be supported in its entirety
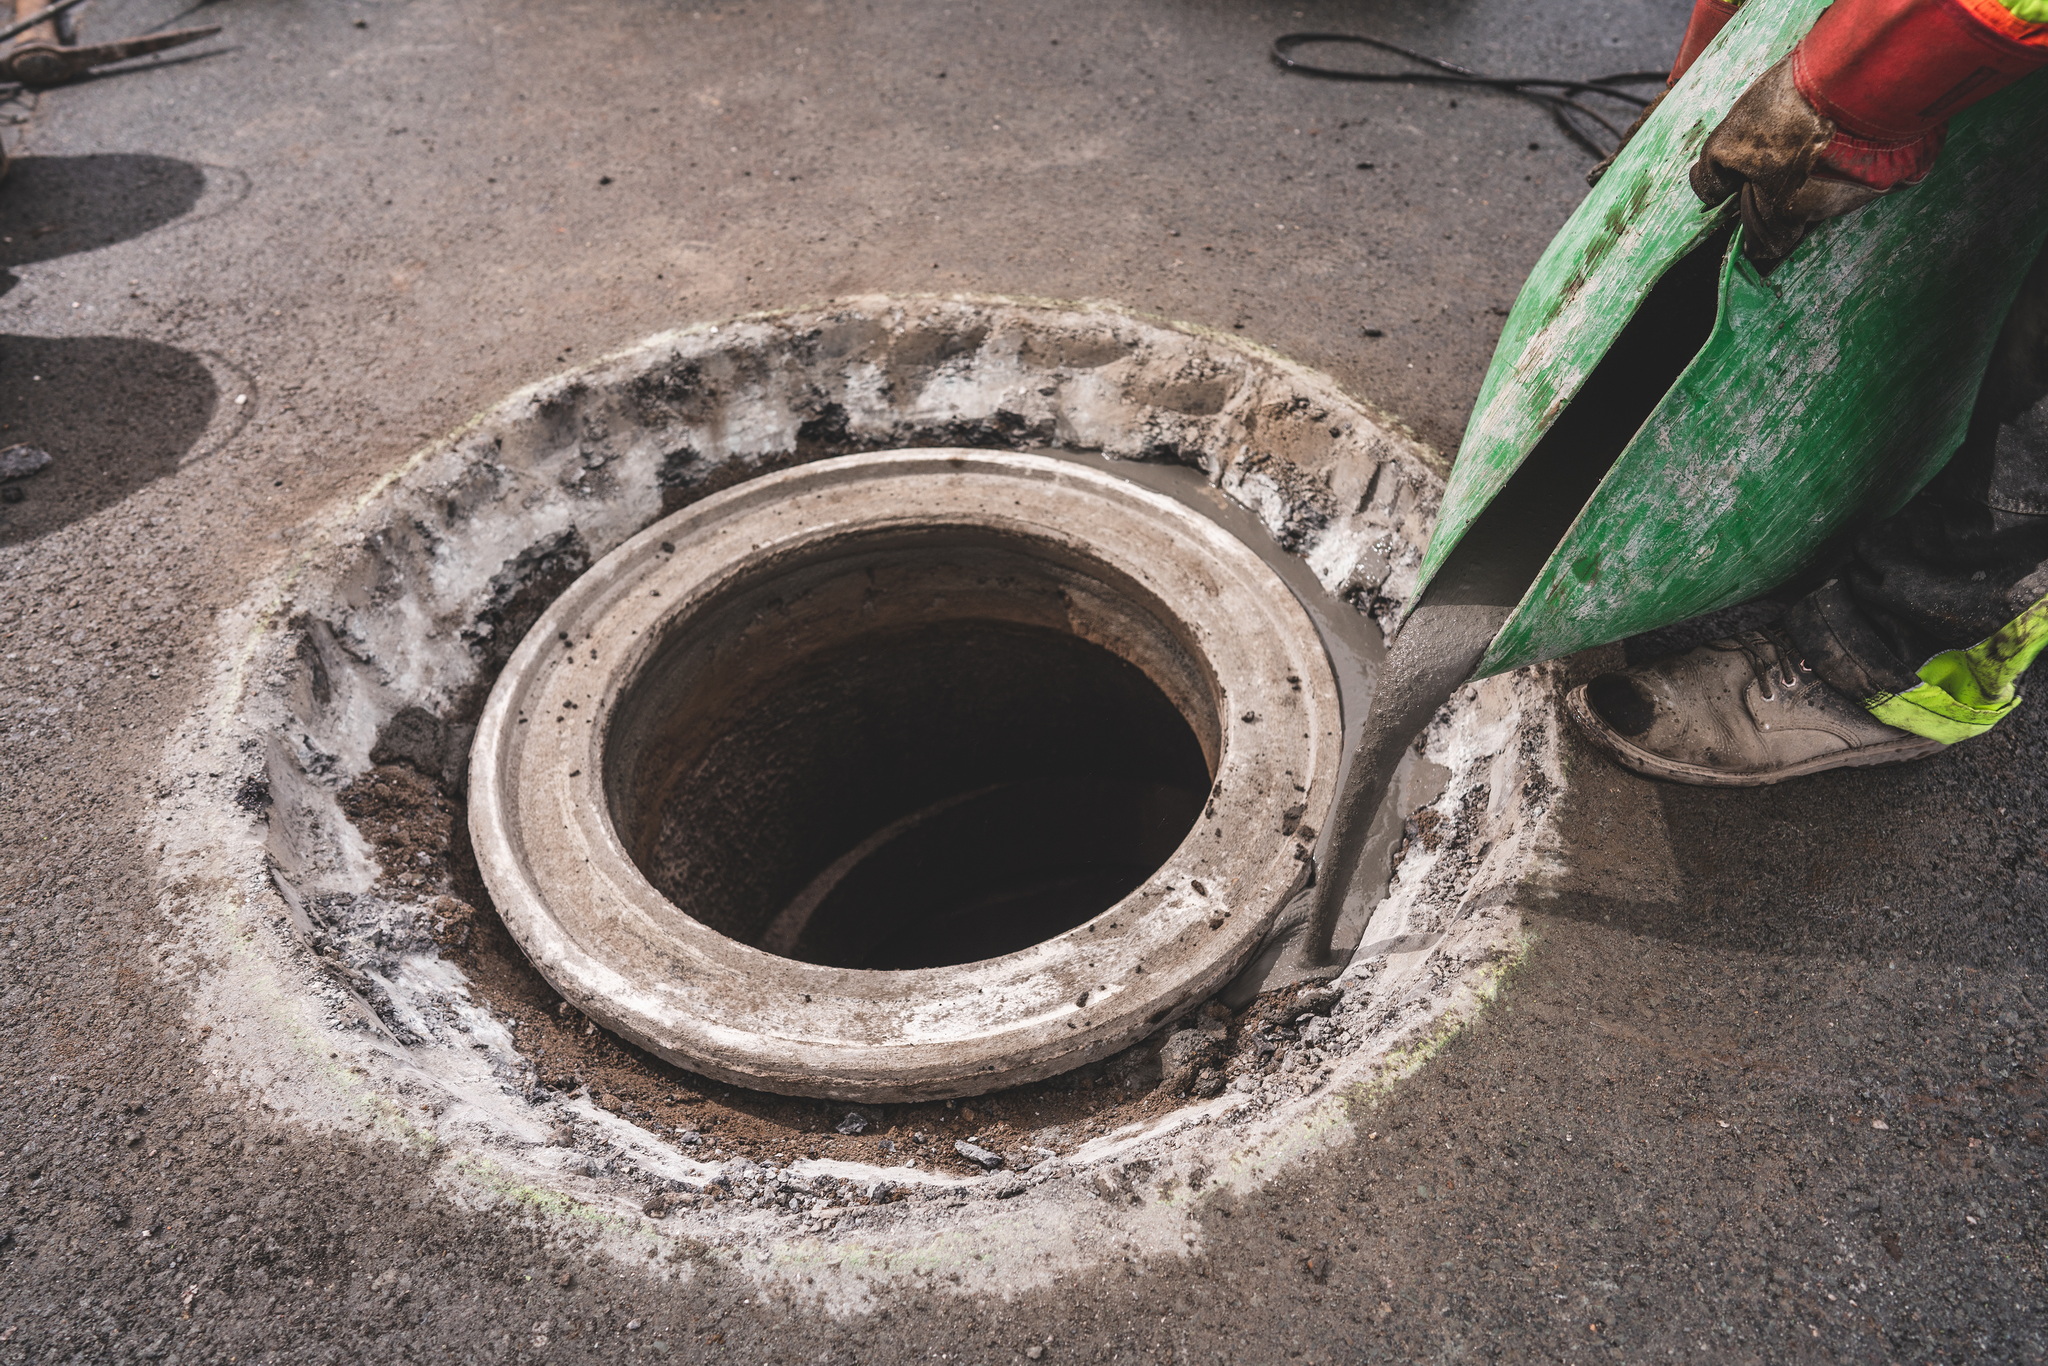
9. Grout
- Always with high strength and resistance to chemical defrosting agents
- If formwork is being used, the rings can also be connected with grout
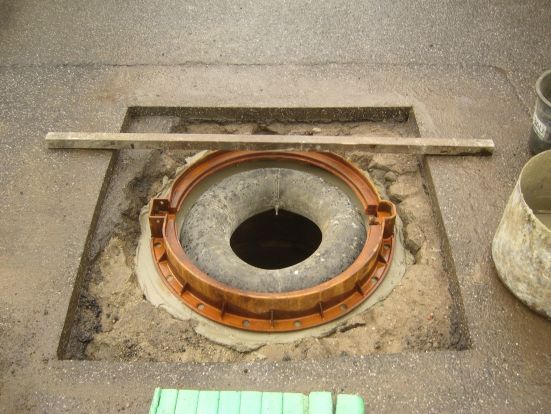
10. Hatch height mounting
- According to the slats to the absolute plane and the seating surface as well as the rings
- For hinged hatches, pay attention to the directionality of the hatch
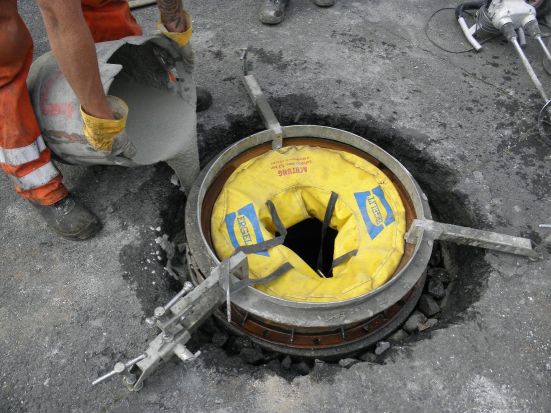
11. Grout
- Again, a high-strength, chemical defrosting compound
- After a very short time, the rapidly solidifying mass is ready for further processing
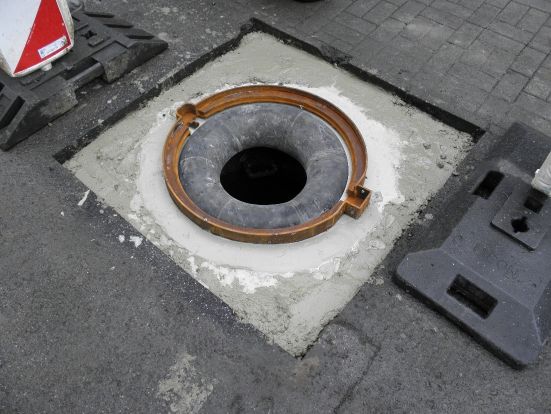
12. Formwork and grout
- After curing remove the inflatable formwork
- Smooth inner sharp edges created by leaks
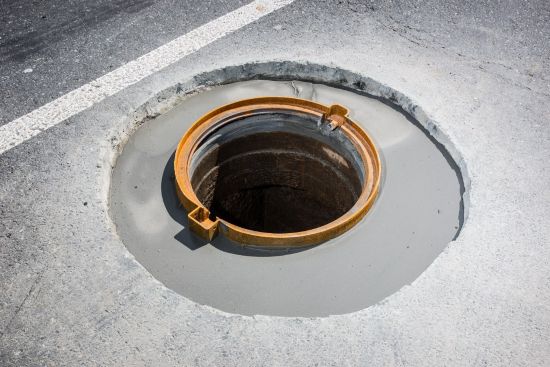
13. Removal of formwork
- Tighten the bedding very well so that the formwork holds even without the carrier
- Use a hammer with a flat attachment

14. Impregnation
- Apply onto the entire area below the asphalt
- It’s faster to use a spray bottle

15. Base asphalt layer
- Better warm asphalt concrete with more aggregate
- Clean the hatch surface

16. Compacting
- Tighten the substrate very well
- Use a hammer with a flat attachment

17. Fusible asphalt tape
- Thorough treatment of new joints
- Both the connection of the road and the new asphalt and the frame with the new surface

18. Top layer
- If the situation permits, use materials for the top layers of the roads
- Clean the surroundings and the hatch again

19. Compaction
- Into the plane with the surrounding road
- Lubricate the plate so that the asphalt does not stick
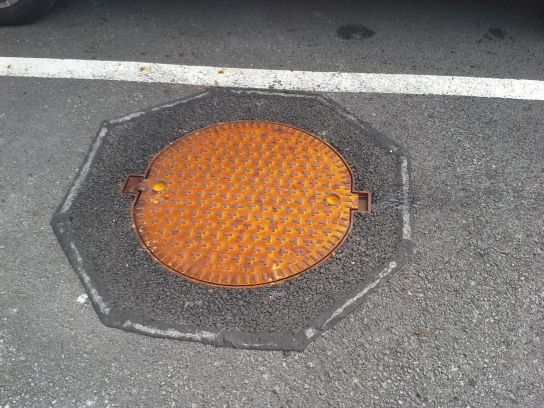
Resulting work
- Perform a flatness check
- Remove residual dirt
Spravovat Souhlas
Abychom poskytli co nejlepší služby, používáme k ukládání a/nebo přístupu k informacím o zařízení, technologie jako jsou soubory cookies. Souhlas s těmito technologiemi nám umožní zpracovávat údaje, jako je chování při procházení nebo jedinečná ID na tomto webu. Nesouhlas nebo odvolání souhlasu může nepříznivě ovlivnit určité vlastnosti a funkce.
Funkční Always active
Technické uložení nebo přístup je nezbytně nutný pro legitimní účel umožnění použití konkrétní služby, kterou si odběratel nebo uživatel výslovně vyžádal, nebo pouze za účelem provedení přenosu sdělení prostřednictvím sítě elektronických komunikací.
Předvolby
Technické uložení nebo přístup je nezbytný pro legitimní účel ukládání preferencí, které nejsou požadovány odběratelem nebo uživatelem.
Statistiky
Technické uložení nebo přístup, který se používá výhradně pro statistické účely.
Technické uložení nebo přístup, který se používá výhradně pro anonymní statistické účely. Bez předvolání, dobrovolného plnění ze strany vašeho Poskytovatele internetových služeb nebo dalších záznamů od třetí strany nelze informace, uložené nebo získané pouze pro tento účel, obvykle použít k vaší identifikaci.
Marketing
Technické uložení nebo přístup je nutný k vytvoření uživatelských profilů za účelem zasílání reklamy nebo sledování uživatele na webových stránkách nebo několika webových stránkách pro podobné marketingové účely.
